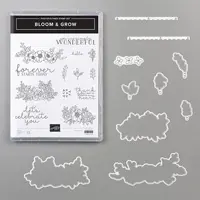
Hello and welcome to my blog; I am super excited today to share with you one of the first post for the new Design Team and Challenge blogs that I am on. This is our very first challenge for the new weekly challenge blog called The Spot! The design team is composed of other Independent Stampin' Up! Demonstrators from around the world. Our first theme challenge for the new Challenge blog is Getting to Know you - Designer's Choice! We wanted to share a card that represents our styles and showcases what we like to do as well as you sharing a card that showcases your talents and what you like to do. I picked the Bloom & Grow Bundle from the Annual Catalog and the So Very Vellum New Sale-A-Bration item that just came out today to create my card with. Here's a look at my project.
And here's the challenge card that inspired my project today. You can click on the challenge image to go to our website and check out what the other design team members came up with and play along.
I know that you will be extremely inspired by all the wonderful creations from this wonderful design team that has been assembled to be part of The Spot. I also know that you will have so much fun playing along with us each week.
Tips & Tricks:
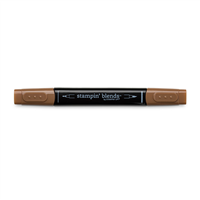
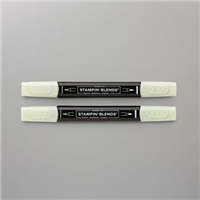
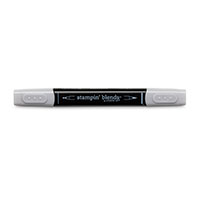
As I mentioned above I picked the Bloom & Grow Bundle and the So Very Vellum Designer Series Vellum to showcase on my card today. One thing that I love to do when I am designing a project and that makes me happy is to use a product in a different and unexpected way, along with using my coloring media to create something beautiful to share. For this card I used my Stampin' Blends to color the flowers that I used on my project. And, I am just going to go ahead and tell you that apparently I am in the mood for Spring because a majority of my projects that you will be seeing this week have flowers on them.

For the coloring on my flowers I used Purple Posy, Flirty Flamingo, Pool Party, and Soft Sea Foam plus a little So Saffron. I also did a little under painting of the shadows on the berries with my light Smoky Slate blend. A underpainting is where you come in with a gray and add in your shadow colors before hand to give the image a little more detail and to create a darker shadow color and a this also lets you add a more dramatic effect and get more tone from a light color marker. When doing a underpainting you want to pick a lighter color gray to start building your shadows up before coming on top with the other color. If I had just colored the berries with the Soft Sea Foam light and dark you wouldn't see as much detail and tonal value as you do in the image above. When doing the under painting you have to start with the gray to get the best result. If you where to start with the sea foam and then come back in with the gray you would get a completely different color since alcohol markers are transparent. Meaning that what ever color you lay on top of another color will show through.

Once all my coloring was complete I then used the matching dies to cut out the two floral swags. I also used the Let's Celebrate You sentiment from the stamp set and stamped it onto a piece of Whisper White Cardstock in Flirty Flamingo ink and used the largest stitched circle from the Stitched Shape Dies to cut it out. I actually cut out one blank of the two floral swags and the stitched circle to add to the inside of the vellum card front. This allowed me to hid any adhesive that may show from the inside of the card. To make the vellum card front I cut my vellum to 6" x 4 1/4 and scored it at 1/2" from the top. I adhered the vellum to a piece of Thick Whisper White cardstock (that was cut at 4 1/4 x 5 1/2) with a strip of Tear & Tape Adhesive on the back side. I also added a sentiment to the inside of the card with Soft Seafoam Ink; I placed it where when the card was closed it would not see through the vellum.

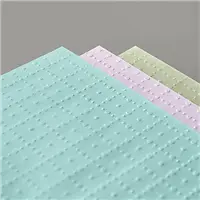
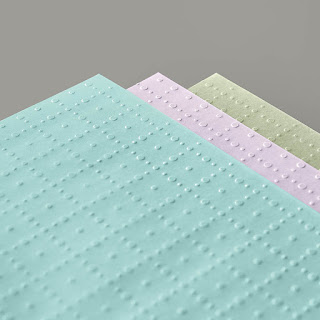
So Very Vellum Specialty Designer Series Paper
Dress up your handmade cards, scrapbook pages, and other paper crafts with a little extra texture and flair. Our So Very Vellum Specialty Designer Series Paper includes three different colors of vellum with a fun embossed design. Earn this fancy paper FREE with a qualifying purchase March 3–March 31, 2020, during part two of our Sale-A-Bration promotion! You can download the 2nd Sale-A-Bration Brochure by
clicking here. This will allow you to check out the new offerings that you can start earning today.
The So Very Vellum Specialty Designer Series Paper features:
* 6 sheets of embossed vellum: 2 each of 3 colors
* 12" x 12" (30.5 x 30.5 cm)
* Acid free
* Lignin free
Product colors: Pool Party, Purple Posy, Soft Sea Foam
 |
| image by Stampin' Up! |
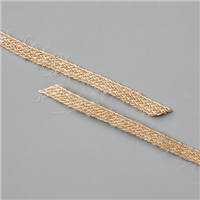
To finish off my card I used a few Basic Rhinestone Jewels and sprinkled them around the card for a little sparkle, and I added a two layer bow. I made the bow with the Whisper White 5/8" Polka Dotted Tulle Ribbon. I cut this to length first and tied it into a bow. To add a little texture to the card and bow I took some of the 5/16" Braided Burlap Trim and pulled it apart and tied another bow which I layered on top of the Tulle Bow. I love how this adds a different texture to the texture of the vellum and the tulle. It's such a fun play on texture that makes the card just pop.
Thank you for dropping by today, I hope that you will take time to visit us over at the Spot; which I know will become your spot for weekly inspirational card challenges. You never know if you play along you may be chosen and put on the spot as one of our challenge winner. If you need any of the supplies that you have seen today you can pick them up in my online store by clicking on the items in my Shopping List below. I hope to see you and your creations over at the Spot.
Happy Stampin'
Rick Adkins
Use the March Host Code on any order of $50 (before taxes & shipping) or more during the month and receive a free gift from me in April as a Thank You. If your order is $150 or more please don't use the host code. You will forfeit your Stampin' Rewards if you do; and I want you to get those rewards.
If you place any size order with me during the month of March you will receive the March Creative Stampers Tutorial Bundle from me as a little thank you. This month's tutorial bundle features fourteen floral themed tutorials. The Creative Stampers Tutorial Bundle can either be earned for FREE with any size order or Can be purchased for $20 from me.
Stampin' Up! Shopping List: