Hello and welcome to my blog! Today, I am sharing a couple alternative projects for the January 2019 Paper Pumpkin kit entitled Be Mine Valentine. This was a very nice kit and it coordinated with one of my favorite suites in the Annual Catalog. It was a super fun kit to create alternative projects with and it was a great kit to create all types of alternative projects with. I am super excited to share mine with you today.

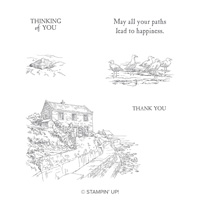
This kit coordinates with the Animal Expedition Suite of products as I mentioned above and I couldn't have been more excited when I heard this. Why you may have asked yourself? Well, because it has some of the most fun images in the stamp set, and designer series paper not even to mention some of the other matching products. Here's a look at this month's kit.
 |
| image by Stampin' Up! |
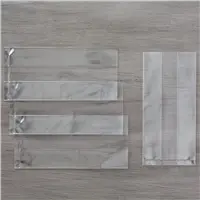
 See I told you that it was a super cute kit. It didn't take me long to come up with a couple really cute alternative projects that I was really happy with. For my card I created a Step Card. It is actually a 3 dimensional card that folds flat and fits into an envelope. It's slightly larger then a \A2 size card so I have to make an envelope to fit. I haven't mad it yet but I plain to use the designer series paper from the Animal Expedition suite to create it. I used a piece of Lemon Lime Twist cardstock for the card base and the simply score to create this card. Step Cards work best with 12 x 12 cardstock, but I didn't happen to have a piece of 12 x 12 in Lemon Lime Twist so I had to improvise. I cut my cardstock to 4 1/2 x 11 and and the added an additional piece that measured 1 1/4. I scored on the long side of the cardstock every 1 1/2" on the simply score, and turned it on the short side and scored at 1 1/2 & 3. Next I had to remove a few of the blocks before scoring. On the top row I counted over two squares and cut off the third, fourth, and fifth ones. One the second row I counted over three and took out the fourth square. At this point I fold and burnished all the score lines, and added the extra strip of cardstock. Once I had it all folded up and adhered it all together. I cut apart two of the pillow boxes and used them for the little squares for the front and top of the step card. I added a little additional cardstock to them to create little mats. I added but stamped images that I cut out and colored and some from the kit itself.
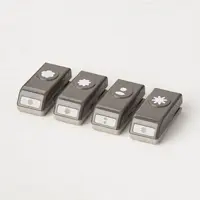
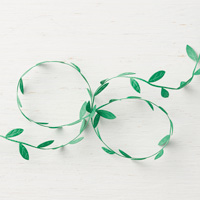
For the back of the card I added another sentiment piece and a couple more images. For the top of the steps I added a few flowers that I punched using the Bitty Bloom Punch Pack and scraps from the pillow boxes. I also added a few leaves that I cut from the leaf ribbon and attached them using mini glue dots.


I hope that you have enjoyed my little projects for this month's hop. I hope that you take a few minutes of you day and hop the rest of the way through the hop. I know that everyone have created some great projects for you.
Next on the Blog Hop:
You will find a full list of the supplies below in the Supply List. If you need any of the supplies you can order them in my online store as well as sign up for Paper Pumpkin.
Supply List:


Happy Stampin'
Rick