Hello and welcome to my blog; today I am going to share with you two alternative projects with the February Paper Pumpkin Lovely Day Kit. I came up with a super cute card for my card project and I decided to do something a little different for my 3d project. I decided to make a Junk Journal which I have been seeing more and more of lately. So I thought I would give it a go. Here's a look at my projects.
Before we really get into what I did for my alternatives I wanted to share with you a little look at what came in this month's kit and the intended projects. This month's kit was packed full of some really neat items. I am in love with these top folding envelopes with the half circle flap. I really would like to have more of these.
This month's kit made 9 cards with coordinating envelopes. This has been one of the best kits that I've seen recently. I know I said that last month too; well, it's just because they just keep getting better and better.
Alternative Card:

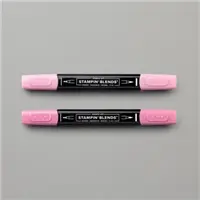
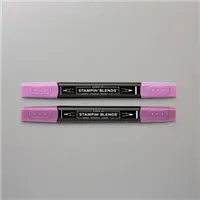
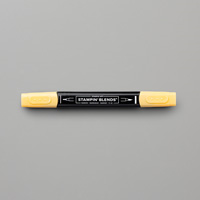
For my alternative card this month' I took inspiration from the die cut flower that came in this month's kit. I took the stamp set from the set and stamped five of the flower images in tuxedo black ink on the top and right-hand side of a piece of whisper white. Once the ink dried I used my Stampin' Blends in Rich Razzleberry, Rococo Rose, and So Saffron to color all the flowers. I also added a faux layer on this panel with a few other blends. You will see the list below of all the colors that I used. Once the coloring was done I then took the card panel and added it to a mat that I made from one of the card bases from this month's kit. I then added it to a Whisper White Thick Card base cut at 4 1/4 x 11 scored at 5 1/2. Once that was done I stamped my sentiment on one of my labels from the kit and added it to the card base. I then added the foam foil word die cut sticker to the front of the card. I actually put a dimensionals under the L & Y so that everything was balanced.
Junk Journal:
Junk journals are surprisingly easy. All you have to do is take some of your collection and make book pages, and pockets for your album. A Junk journal is a handmade book made up of recycled items such as papers from magazines, brochures, patterned paper, music sheets, envelopes, packaging, brown paper bags, maps, greeting cards, post cards, doilies, to name a few. The book covers can be made from cereal boxes, old book covers or any hard card boards. Basically anything that you can find including the kitchen sink.
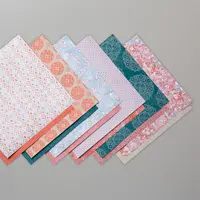
I used some of the card bases, envelopes, (from the kit) and additional DSP and cardstock to make mine
All I had to do was fold everything up and arrange it into how I wanted the signature to be. Which by the way are the sections of pages in your journal or book. Once all the signatures are lined up and the way you want it it's time to do a little piercing of the paper to make the holes for your ribbon, twine, or book rings to go through to hold everything together. I choose to use ribbon to secure my book close. I used the stripped Organdy Ribbon for this purpose. For some of my signatures I used the Woven Thread DSP from the Annual Catalog.
I even made pull out pockets to write a little note or something that I want to remember or use sooner. Here are a few pictures of the inside pages.
As you can see I have places for pictures, keepsakes, and memory keeping all throughout. Thanks for dropping by today, I hope that you have a wonderful day. If you are viewing this post on my word press site you will need to
click here to view the blog roll. Thanks for dropping by.
Blog Roll:
Happy Stampin'
Rick


 For my alternative card this month' I took inspiration from the die cut flower that came in this month's kit. I took the stamp set from the set and stamped five of the flower images in tuxedo black ink on the top and right-hand side of a piece of whisper white. Once the ink dried I used my Stampin' Blends in Rich Razzleberry, Rococo Rose, and So Saffron to color all the flowers. I also added a faux layer on this panel with a few other blends. You will see the list below of all the colors that I used. Once the coloring was done I then took the card panel and added it to a mat that I made from one of the card bases from this month's kit. I then added it to a Whisper White Thick Card base cut at 4 1/4 x 11 scored at 5 1/2. Once that was done I stamped my sentiment on one of my labels from the kit and added it to the card base. I then added the foam foil word die cut sticker to the front of the card. I actually put a dimensionals under the L & Y so that everything was balanced.


 Scalloped Linen Ribbon")
 Crinkled Seam Binding Ribbon")