Friday, January 31, 2020

Treat Week 2020 #5 - FULL OF HAPPINESS Cadbury Egg Easter Buggy Treat Holder


Hello and welcome to my blog; today I am going to share with you today's Treat Week project.  This is day 5 of Treat Week and I have a super cute project to share with you featuring the Full of Happiness Stamp Set.  I designed this project in mind to hold a Cadbury Egg but you will notice that there's not one in the treat holder today, because I couldn't find one.  Last year at this time they were already out in the stores.  I couldn't find one when I went looking for them this year.  This project only uses a few supplies and you will be so surprised how easy it is to put together.

If you are viewing this post by email you will have to click here to view the video or on the image below.
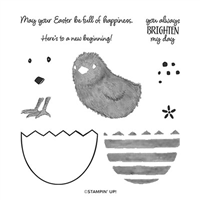
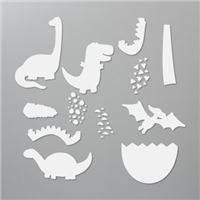
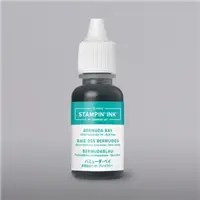
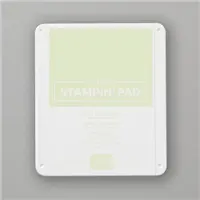
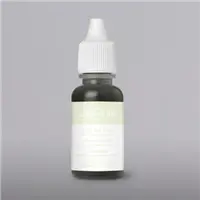
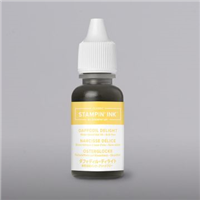
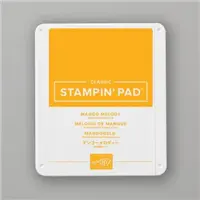
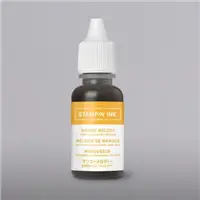
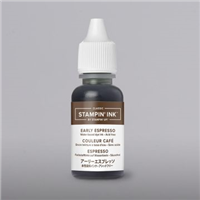
As I mentioned above this is a super easy project to make all you need is a piece of cardstock that measures 2" x 4 1/2".  You are going to score on the small side at 1/4" on both sides.  Add tear and tape to the score lines and snip small notches all the way down.  The Egg cart front was stamped with matching ink to the cardstock.  I used Bermuda Bay on one and Soft Sea Foam on the other.  I cut the eggs out with the Dino Dies, the egg shape from this die set matches the egg from the Full of Happiness Stamp Set.  Watch the video for assembly tips.  I stamped the little chick in Daffodil Delight ink on Whisper White cardstock.  The eyes was done with Early Espresso and the beak was stamped in Mango Melody.  I fussy cut this little cutie and added a little snail adhesive to the bottom and added it to the egg.
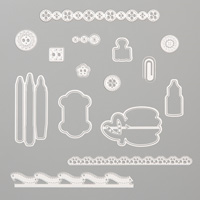
To finish off the egg buggy I added used the Arts & Craft dies to cut out four large buttons and then strip of buttons in matching cardstock.  I trimmed the medium and small buttons off the strip to fit on each large button to make the wheels.  I stamped the sentiment on a strip of whisper white and added it with mini dimensionals.  To finish it off I added a daffodil delight bow made with the, Daffodil Delight 1/4" ruched ribbon, with a mini glue dot.  Thanks for dropping by if you need any of the supplies to make these projects you can order them in my online store by clicking on the items below.
Happy Stampin' 
Rick Adkins 


Join my team during Saleabration and you will get the super cute Mini Cutter and the DSP Sampler Pack free in your Starter Kit along with a Free Paper Pumpkin, Business Pack, a FREE Stamp Set of your Choice in addition to the $125 of product of your choice for $99.00 with Free Shipping.  That's $277.75 of products and supplies for only $99.00 (Price includes the Well Said Stamp Set (most expensive in catalog) plus 9% sales tax) 

Receive the January Creative Stampers Tutorial Bundle with any size order!


Stampin' Up! Shopping List: 


Thursday, January 30, 2020

Treat Week 2020 #4 - Birthday Bonanza Gift Box & Card In One

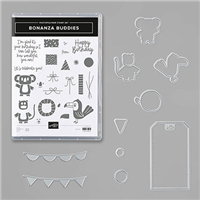
Hello and welcome to my blog; today I am going to share with another Treat Week 2020 project and this one my Facebook Tribe got early access to this project last night during my weekly Facebook Live.  I created a super cute project that's sure to WOW any person that you give it to.  I created a A2 size Gift Box & Card in One using products from the Birthday Bonanza Suite in the January - June Mini Catalog.  Here's a look at my project.


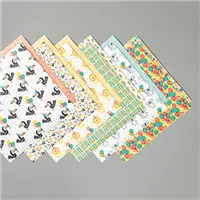
This is one of those projects that look difficult but really was quite easy.  It also will give the recipient a WOW for sure.  It really doesn't take a lot of supplies to make this card.  I used a 8 1/2 x 8 1/2 piece of cardstock for my box.  I picked coordinating colors from the Birthday Bonanza Designer Series Paper.  My card base was cut a little so that I could attach the box to it.  You will need a piece of 5 1/2 x 10 5/8 piece of cardstock for the card part and you will score it at 4 1/4.

The mats are cut as followed (2) 1 3/4 x 1 3/4, (3) 1 3/4 x 5 1/4, 4 x 5 1/4.  The designer series paper was cut at 3 3/4 x 5, (2) 1 1/2 x 1 1/2, (3) 1 1/2 x 5.  On the card above I did add one more mat layer to the card, because I pieced the Grapefruit Grove mat with the paper that was Grapefruit Grove so I added an additional mat layer at 3 5/8 x 5 1/8 to make the designer series paper stand out a little more.
For the inside of the original card I added a strip of designer series paper to the inside with a little liquid glue.  But for the card I made on the video I decided to stamp the presents from the stamp set on the inside.

Video Tutorial: 

If you are viewing this post by email you may have to click here or on the image below to see the video.  

Thanks for dropping by I hope that you have fun trying this project.  If you need any of the supplies you can find them listed below. You can shop my online store by clicking on the items in the shopping list.  
Happy Stampin' 
Rick Adkins 


Join my team during Saleabration and you will get the super cute Mini Cutter and the DSP Sampler Pack free in your Starter Kit along with a Free Paper Pumpkin, Business Pack, a FREE Stamp Set of your Choice in addition to the $125 of product of your choice for $99.00 with Free Shipping.  That's $277.75 of products and supplies for only $99.00 (Price includes the Well Said Stamp Set (most expensive in catalog) plus 9% sales tax) 

Receive the January Creative Stampers Tutorial Bundle with any size order!

Stampin' Up! Shopping List: 


Template Designed by creativeworkerbee