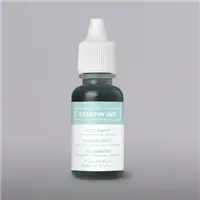
Hello and welcome to my blog; today I am going to share with you the last project for Treat Week 2020. Treat week 2020 has been a week long series sharing different treat project with you. I have had so much fun creating and sharing these projects with you all week. Today, for the last project in my Treat Week Series I have created a super cute (and large as heck) faux die cut inlaid gift box using the Lily Impressions Designer Series Paper (Saleabration item), Sending Thoughts Stamp Set (Saleabration item) and the coordinating matching Sending Flowers Dies (which comes out on February 4th).
If you are viewing this post by email you may have to click here or on the image below to view the video.
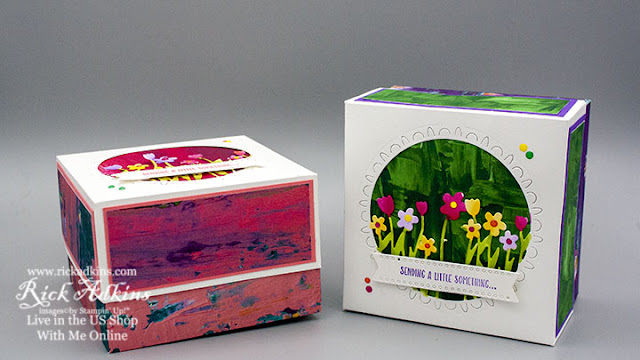
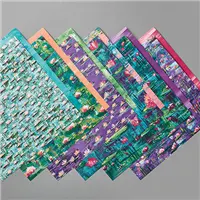
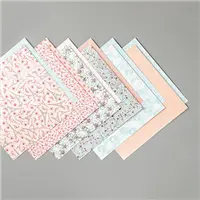
As I mentioned this is a huge as heck box! So it will hold a lot of goodies. I did reinforce the bottom of the box with some additional cardstock, just to be safe. I started off this project by picking the designer series paper and I went with the Lily Impressions Designer Series Paper from Saleabration. I adore the imposto effect on this designer series paper and I didn't have to paint it myself. I also am a big Monet fan so I love this paper because it was inspired by his work. I saw a article online recently saying that the Boston Museum of Art was planning a exhibition of all his work in their collection this summer. I saw some of the pieces in their collection a few years back and was just mesmerized. This was one of my life's highlights. I am just going to tell you that pictures of his work as well of this paper just don't do either justice.

I used this designer series paper as the bottom of the box as well as to decorate both the sides and the die cut opening on the top. I started out with a 10 1/2 x 10 1/2 piece of DSP and on two sides I actually cut off a 1/16th of an inch off; so you can cut it at 9 9/16th square and then scored it at 3" on all four sides. I personally find it easier to cut it the actual size then just trim the tiny bit off the two sides.

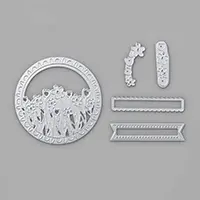
For the top of the box I used Thick whisper white cardstock (8 1/2 x 8 1/2 scored at 2" on all four sides) so that it was a good weight and had a very sturdy feel. This also helps with the fact that the designer series paper is much thinner (which is also why I reinforced the inside with an additional piece of matching cardstock. In the video I did the same with the top because it added another little decorative touch and I know how much some of you like to add that little extra detail to your projects. I m not going to lie the die cutting of this thick cardstock proved to be a little tricky. I found the best results with the precision base plate and a shim. It just helped to get all the detailed die cuts out without a lot of work. Sometimes with the heavier cardstock you may have to do a little surgery like I did in the video, but in the long run it was easier and no one will ever know. Unless you tell them! But, I know our little secret is safe.

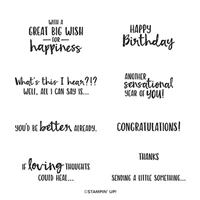
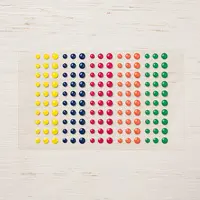
To finish off the box I added four matted pieces of the designer series paper on the sides of the top as well as adding some of the Happy Blooms Enamel Dots on the flowers on the top as well as on the top. I then added a sentiment to the top with dimensionals that I made using some scraps of the thick whisper white that I used for the top. The sentiment came from the matching Sending Thoughts Stamp Set and I cut it out using one of the dies from the the Sending Flowers Dies. The finish measurements of the box is 4 1/2" x 4 1/2" x 3".


Happy Stampin'
Rick Adkins


Join my team during Saleabration and you will get the super cute Mini Cutter and the DSP Sampler Pack free in your Starter Kit along with a Free Paper Pumpkin, Business Pack, a FREE Stamp Set of your Choice in addition to the $125 of product of your choice for $99.00 with Free Shipping. That's $277.75 of products and supplies for only $99.00 (Price includes the Well Said Stamp Set (most expensive in catalog) plus 9% sales tax)