Showing posts with label Clean & Simple card. Show all posts
Showing posts with label Clean & Simple card. Show all posts
Saturday, March 26, 2022
Monday, February 14, 2022
Tuesday, February 11, 2020
You Make My Life Better - Heart To Heart Bundle - Stampin’ Up!
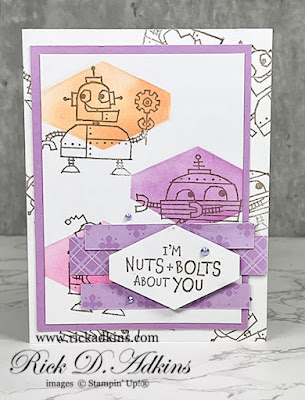
Hello and welcome to my blog; today I am going to share with you a new video tutorial and project showcasing the Heart to Heart Bundle from the January - June Mini Catalog. This is one of my favorite bundles in the entire catalog because of the die that's included. I love the background die with all the hearts and think that it's just fabulous. So I had to use it on my project today. I created this super clean and simple card using the die, and some rainbow ink blending (another favorite thing I like to do). Here's a look at the card.
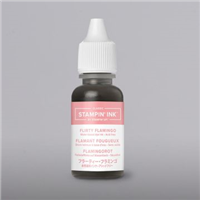
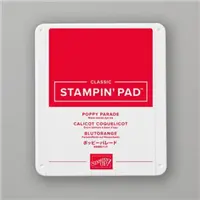
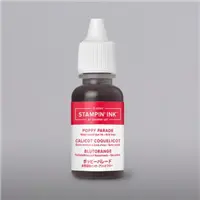
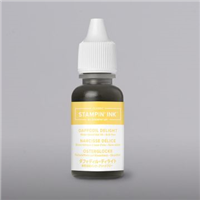
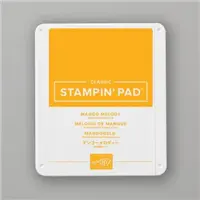
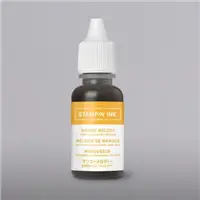
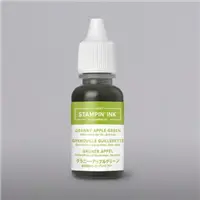
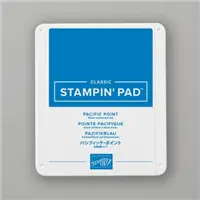
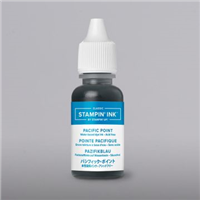
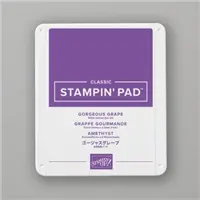
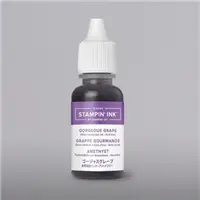
I started off my card today by doing the Rainbow ink blending using some of my favorite bright colors. I used Flirty Flamingo, Poppy Parade, Mango Melody, Daffodil Delight, Granny Apple Green, and Gorgeous Grape. I also threw in a little Pacific Point between the Granny Apple and the Gorgeous Grape. I did this because the purple of the Grape has red in it and red and green are complimentary colors. When you mix these two colors together you get a natural gray or as some say mud. But if you where to mix these colors together and add white you get a natural gray color.
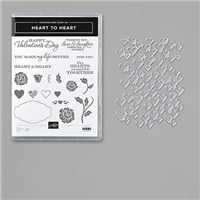
I then die cut this panel of ink blended goodness with the die from the Heart to Heart bundle. I ran it through a couple times to make sure I got a great cut. I then ran a piece of whisper white (4 x 5 1/4) through my die cut and embossing machine with the Subtles 3d embossing folder. A great tip is to use the Embossing Plate that can be picked up in my online store with your older style 3d folders to get a great impression without having to add frustration and the right numbers of shims to your sandwich. I do this and get the best impressions I've ever have and there's no fussy sandwich to figure out. Win Win! I then added the emboss piece to my card base (4 1/4 x 11) made out of a piece of Thick Whisper White Cardstock.
I then attached the multicolored heart die cut to the card front with some multipurpose liquid glue. And heat embossed my sentiment from the Heart to Heart stamp set onto a piece of Basic Black. I embossed the sentiment in White Stampin' Emboss Powder. I love the contrast of the bright colors paired with the black and white sentiment strip. I popped this strip up on a few Stampin' Dimensionals for added dimension. To finish off the card I sprinkled on some Rhinestone Basic Jewels to add a little shine and sparkle to the card.
Video Tutorial:
If you are viewing this post by email you may have to click here or the image below to view the video.
Thanks for dropping by today! If you need any of the supplies that I used to create today's card you can pick them up in my online store by clicking on the items in the shopping list below.
Stampin' Up! Shopping List:
Happy Stampin'
Rick Adkins
Join my team during Saleabration and you will get the super cute Mini Cutter and the DSP Sampler Pack free in your Starter Kit along with a Free Paper Pumpkin, Business Pack, a FREE Stamp Set of your Choice in addition to the $125 of product of your choice for $99.00 with Free Shipping. That's $277.75 of products and supplies for only $99.00 (Price includes the Well Said Stamp Set (most expensive in catalog) plus 9% sales tax)
February 11, 2020 Clean & Simple card, Heart to Heart Bundle, rainbow hearts, video tutorial Leave a Comment
Tuesday, January 14, 2020
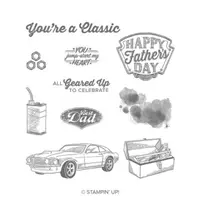
Geared Up Garage - Creative Crafting Uncles Design Team
For my card today I went very minimalistic! I know very unlike me. I wanted to do something that was very striking but very graphic at the same time. So I stamped the car from the Geared Up Garage Stamp Set from Stampin' Up! in Tuxedo black ink onto a piece of Thick Whisper White cardstock cut down to 4 3/4 x 3 1/2". Once I had the car on there I took a die and draw a circle around the card. I then used my ruler to add some graphic lines that intersected the circle but didn't go inside. Once I had the lines done I colored one in black and one in gray. I decided to leave the third the white of the paper for visual interest.
I added some black splitters with my Basic Black Stampin' Write marker and then stamped the nuts from the stamp set to add a little triangle design. I finished off my card by stamping the sentiment in Tuxedo black ink under the car. I then added my focal piece to a card base with Stampin' Dimensionals to add an additional layer and a little more subtle visual interest to the card. My card base was made from Thick Whisper White cut at 4 1/4" x 11" scored at 5 1/2".
I hope that you have fun with this challenge and that you will take a little time and play along. You can do so by clicking here and visiting the Creative Crating Uncles Blog. Thanks for dropping by I will see you later.
Happy Stampin'
Rick Adkins
Join my NEW Online Technique & Fancy Fold Club! You can find out all the details by clicking here!
Receive the January Creative Stampers Tutorial Bundle with any size order!
Shopping List:
Subscribe to:
Posts (Atom)
BLOG ARCHIVES
-
►
2021
(222)
- December (16)
- November (17)
- October (21)
- September (23)
- August (13)
- July (18)
- June (26)
- May (26)
- April (15)
- March (6)
- February (19)
- January (22)
-
►
2020
(303)
- December (18)
- November (27)
- October (22)
- September (16)
- August (30)
- July (24)
- June (14)
- May (30)
- April (28)
- March (33)
- February (29)
- January (32)
-
►
2019
(318)
- December (23)
- November (31)
- October (37)
- September (26)
- August (28)
- July (28)
- June (32)
- May (20)
- April (28)
- March (34)
- February (26)
- January (5)

