Tuesday, November 19, 2019

Christmas Crowd Snow Scene Card Video Tutorial

Hello and welcome to my blog; today I am going to share with you a fun little Christmas card using the Christmas Crowd Stamp Set along with a little ink blending, and Stampin' Blend Coloring.  Today's card is also part of my 25 Days of Christmas Holiday Card Series.  This is day 11 of the Holiday Card Series and I have a super cute one for you today.  Here's a look at my card.

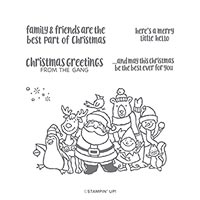
Christmas is better shared.  So spread some holiday cheer with the help of the friendly group of festive characters in the Christmas Crowd Stamp Set.  Your loved ones will appreciate Christmas greetings from you and your gang.  The Christmas Crowd stamp set is a great set for to color any way that you would like.  I decided to stamp them and do a little masking and Stampin' Blend coloring to create my card today.
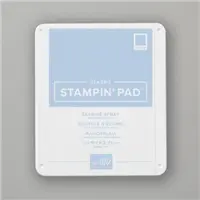
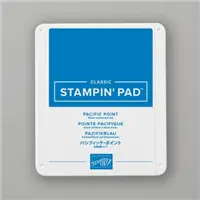
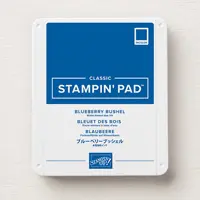
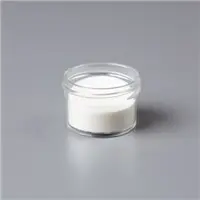
I stamped the Christmas Crowd image in tuxedo black ink twice using the Stamparatus and then created a mask on some Avery Repositionable labels.  I cut the mask out and then placed it over the image.  I crated a second mask to create a snow globe or world shape to place the snowflakes in.  for the snowflakes in the circle I used versamark ink and the snowflake image from the Christmas Crowd stamp set and then added clear embossing powder.  Once heat set I did a little ink blending with Seaside Spray, Pacific Point and Blueberry Bushel. I then came back and did a little ink blending out side of the circle once I removed the large mask.
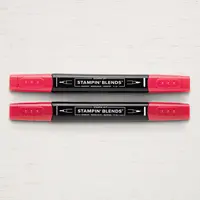
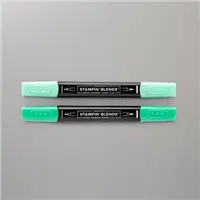
 Once all the ink blending was complete I started the Stampin' Blend coloring.  All my little guys were colored with Real Red, and Shaded Spruce somewhere on them to tie them in together for the most part.  I did add in a few additional colors to finish them off.  You will find a full list of the supplies I used on this card in the Shopping List below.  I just did simple coloring to fill in the images with just a little blending.  I kept everything super simple.  Once I had everything colored it was time to add the finishing touches.
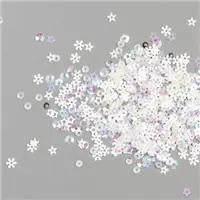
I added the ink blended and colored background to a Thick Whisper White Card base cut at 4 1/4 x 11 scored at 5 1/2.  I did this with the aid of my Simply Score.  I put the card base in the corner and attached it with a little liquid glue.  I then stamped the sentiment in Blueberry Bushel ink on a scrap of Whisper White Thick cardstock and made it a fishtail banner.  I then popped the banner up on a few Stampin' dimensionals to attach it to the card.  I then added a few of the Snowflake sequins to the card with a little liquid glue.

Video Tutorial: 

If you are viewing this post by email you may have to click here or the image below to view the video.  
Thanks for dropping by today I hope that you have enjoyed my little card today.  I also hoped that I have inspired you a little to try ink blending and coloring with your Stampin' Blends or whatever alcohol markers you may have.  Again you will find a full list of the supplies used below.  
Happy Stampin' 
Rick Adkins 

If you live in the US.  I would love you to choose me as your demonstrator.  If you would like to purchase any of these products you can click on the Shop Now Button or by clicking on any of the images below.  Alternatively, you can also contact me by email to place your order.  Please be sure to use the monthly host code and I’ll send a little something out to you the following month to say Thank You!  

November HOST CODE:  QU2TJBJN
  1. Spend any amount with me this month and receive the Creative Stampers Tutorial Bundle.  Plus get a gift from me in December.
Please remember that if you use the host code you cannot use that order towards my KCRP’s (Kinmon Crafty Reward Points) that would be double dipping and is not allowed.  For more information on KCRP’s click here.  


Three main reasons to Join!  
1.     You Get at least a 20% discount on all your orders while you are a demo.   
2.     You get to join my fun Kinsmon Crafters Team and Private Facebook Group.
3.     Access to directions to all my online classes 

Stampin' Up! Shopping List: 

Price: $49.00

Sunday, November 17, 2019

Christmas Rose Color Inspiration by Rick Adkins

Hello and welcome to my blog; I am going to share with you another post for my bi-weekly series on Color Inspiration.  You are reading this post as I am returning from OnStage having just gotten my first look at some of the products from the 2020 Occasions Catalog and Saleabration Brochure.  Exciting I know to think about getting a look at some of the new Spring Summer products that will be coming out soon, but I will share more on that as it gets closer.  As I mentioned today's post is all about color inspiration.  Here's a look at the card I made using this weeks inspiration.

Tips & Tricks: 

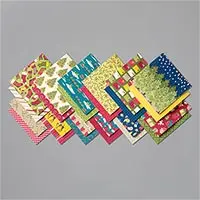
One of the ways that I find the colors for my cards and projects is from the designer series paper.  I picked my colors based on the Christmastime is Here Speciality Designer Series Paper.  For my card I pulled Cherry Cobbler, Mossy Meadow, Gold and Whisper White from the paper but added in Crumb Cake, and Smoky Slate just for fun.  See that's the great thing about designing you can use whatever color you pick.  
One thing to make your cards tied together just by color use is by repeating the colors at least three times.  As for example here you will see Mossy Meadow used at least five times.  Which acts as my tie in color for everything else.  I used white three times, and the reds three times.  Gold, Crumb Cake and Smoky Slate are supporting colors.  These three colors help add interest to the color scheme.  
By picking colors from designer series paper it makes it super easy to come up with colors to use in your projects.  Once you pick out at least a couple colors from the designer series paper you can either add a few other colors from the paper.  But, you can also add colors that you know from experience that coordinate with the other colors you have picked.   
I do have to mention that the products in the Christmastime is Here suite are only available for a limited time, or while supplies last.  If I don't mention this fact again each time I share these projects this month then I am not doing my job or doing justice to you.  
Happy Stampin' 
Rick Adkins 

If you live in the US.  I would love you to choose me as your demonstrator.  If you would like to purchase any of these products you can click on the Shop Now Button or by clicking on any of the images below.  Alternatively, you can also contact me by email to place your order.  Please be sure to use the monthly host code and I’ll send a little something out to you the following month to say Thank You!  

November HOST CODE:  QU2TJBJN
1.     Spend any amount with me this month and receive the Creative Stampers Tutorial Bundle.  Plus get a gift from me in December.
Please remember that if you use the host code you cannot use that order towards my KCRP’s (Kinmon Crafty Reward Points) that would be double dipping and is not allowed.  For more information on KCRP’s click here.  


Three main reasons to Join!  
1.     You Get at least a 20% discount on all your orders while you are a demo.   
2.     You get to join my fun Kinsmon Crafters Team and Private Facebook Group.
3.     Access to directions to all my online classes 

Stampin' Up! Shopping List: 


Saturday, November 16, 2019

Holiday Owl - Hoot Hoot Hooray Christmas Note Card

Hello and welcome to my blog; today I am actually at OnStage in Atlanta getting ready to see some of the great new products that will be coming out in the 2020 Occasions Catalog and Saleabration brochure, but I have a super cute project for you today.  I used the Hoot Hoot Hooray stamp set from the Beginner Brochure along with some of the Night Before Christmas Designers Series Paper for my card today.  Here's a look at my card.


Tips & Tricks: 

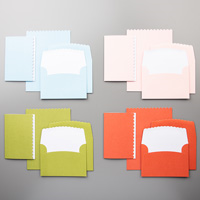
For my card I used the one of the Scalloped Edge Note Cards from the Annual Catalog.  These cute little note cards some with matching envelopes and the cute little scallop edge.  The Scalloped Edge Note Cards and Envelopes come in four colors.  The four colors you get in each pack are Balmy Blue, Old Olive, light pink (Powder Pink retired) and Terracotta Tile.  One of the great things about the scalloped edge is that you can add a strip of designer series paper to the inside and when closed you can see it from the outside with the scalloped edge.  For the insert I used a strip of the Night Before Christmas Designer Series Paper.  

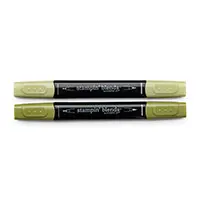
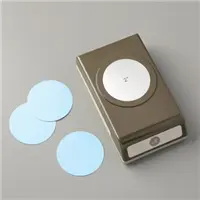
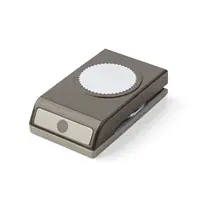
To decorate the outside of the note card I stamped the owl from Hoot Hoot Hooray on a piece of Whisper White cardstock and punched it out with a 2" circle punch.  I then colored it with my Old Olive stampin blends.  I then punched out a starburst using my starburst punch and some Cherry Cobbler Cardstock I added the colored owl to the starburst with snail and then popped it up on my card.  I then cut out one of Santa's hat and stocking from the Night Before Christmas Designer Series Paper and added it my owl.  I placed the hat on his head and put the stocking on his hand.  I added a mini dimensional under the stocking to make it level.  
The sentiment for my card came from the host set Greatest Part of Christmas.  Which can be earned with Stampin' Rewards.  

Video Tutorial: 

If you are viewing this post by email you will have to click here or the image below to view the video.  


Here is a image that you can save to pinterest to remind you what I used.  
Thanks for dropping by today.  I hope that you have enjoyed my little video tutorial.  
Happy Stampin' 
Rick Adkins 


If you live in the US.  I would love you to choose me as your demonstrator.  If you would like to purchase any of these products you can click on the Shop Now Button or by clicking on any of the images below.  Alternatively, you can also contact me by email to place your order.  Please be sure to use the monthly host code and I’ll send a little something out to you the following month to say Thank You!  

November HOST CODE:  QU2TJBJN
1.     Spend any amount with me this month and receive the Creative Stampers Tutorial Bundle.  Plus get a gift from me in December.
Please remember that if you use the host code you cannot use that order towards my KCRP’s (Kinmon Crafty Reward Points) that would be double dipping and is not allowed.  For more information on KCRP’s click here.  


Three main reasons to Join!  
1.     You Get at least a 20% discount on all your orders while you are a demo.   
2.     You get to join my fun Kinsmon Crafters Team and Private Facebook Group.
3.     Access to directions to all my online classes 
I All Ready Know I Want to Join!  Sign Me UP! 

Stampin' Up! Shopping List: 


Price: $10.00

Template Designed by creativeworkerbee