Hello and welcome to my blog; today I am going to share a little about mail art and the Mail art I created for my Top Five in September Team Sales Cards. At the start of each month I pull my team reports and see who my top sellers are. Once I look at the numbers I send them a card to congratulate them, and tell them how proud I am off them. If you have followed me for any length of time you know I love to decorate my envelopes and make them match my cards. Well, this time and from now on I am going to really decorate each envelope with some mail art. Mail art can be as complicated or as simple as you want it to be. Really it's just another way to express your creative side on the outside of your envelopes. Here's a look at the ones I did this month.

As you can see from this little sneak peek mail art can be as simple or as creative as you want to get. I always try to theme my decorated envelopes around my card. If it's a super colorful or complicated card the envelope may be just some simple coloring or simple design that goes along with the card.
For this card that I sent to my team member Debby I used the same stencil and colors as on the card. I pulled the colors for the ink blended trees from the designer series paper on the background. I added a post it note to the envelope before doing the ink blending to mask off an area for her address. Then I drew a stitched line around that once I filled in her address.
For Kathy's Card I mimicked the design of the card and colored it similar but not with all the details as I did on the card. I did the trees with more of an open area for her address.
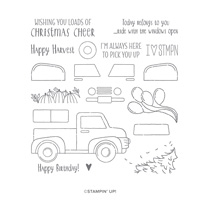
On Marie's card I didn't add as many trees but did them a little bit darker. I also changed the color of the truck just for fun. You can see on both of these examples the cards are very much detailed and the matching mail art envelopes are not as detailed.
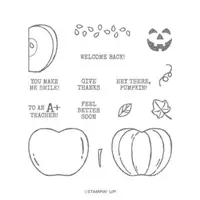
For Mona's card I used one of the decorative pattern stencils again and did a little light ink blending and then stamped the pumpkin from Harvest Hellos on top of that. I used my stampin' blends to color in the pumpkin. I thought that the mask in the set matched the designer series paper that I used on her card quite well.
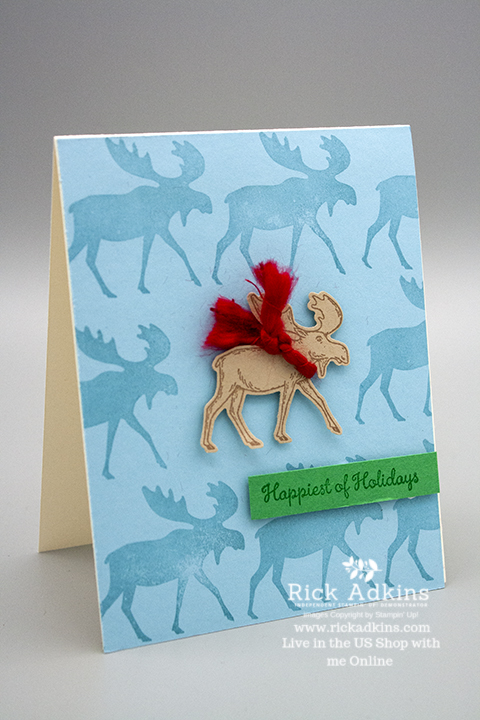
Jean was the top in team sales for September and was sent this over the top card and envelope for her accomplishment. I mirrored the images that I did on my card (which by the way is my contribution to this month's Creative Stampers Tutorial Bundle). But, instead of coloring them as I did on the card I wanted to make the presentation almost like the scene from the Wizard of Oz that's Black and white while they are in Kansas but when she opened the envelope, just like when Dorthy was taken to Oz everything was then in technicolor.
As you can see mail art can be done in many different ways, with it all depending on how you want to create them. I hope that this has inspired you to create a little mail art on your own. I will share next month's mail art in November. Thanks for dropping by today, I will be back later today with another blog post for you. See you soon
Happy Stampin'
Rick Adkins
If you live in the
US. I would love you to choose me as your demonstrator. If you
would like to purchase any of these products you can click on the Shop Now
Button or by clicking on any of the images below. Alternatively, you can
also contact me by email to place your order. Please be sure to use the
monthly host code and I’ll send a little something out to you the following
month to say Thank You!
November HOST CODE: QU2TJBJN
1. Spend any
amount with me this month and receive the Creative Stampers Tutorial
Bundle. Plus get a gift from me in December.
Please remember that if you use the host code you cannot use that
order towards my KCRP’s (Kinmon Crafty Reward Points) that would be double
dipping and is not allowed. For more information on KCRP’s click here.
Three
main reasons to Join!
1. You Get at least a 20% discount
on all your orders while you are a demo.
2. You get to join my fun Kinsmon
Crafters Team and Private Facebook Group.
3. Access to directions to all my
online classes
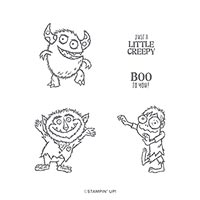
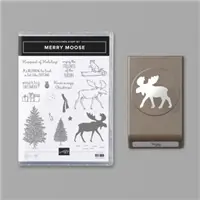
Supplies Used:
I've listed some of the supplies that I used for this month's mail art. The other supplies can be found on the blog posts about that card. (Besides the Boo to you Card The supplies for that are part of the Creative Stampers October Tutorial Bundle and can be either earned free until the end of the month with any size order or by purchasing it for $20 US in my Tutorial Store)