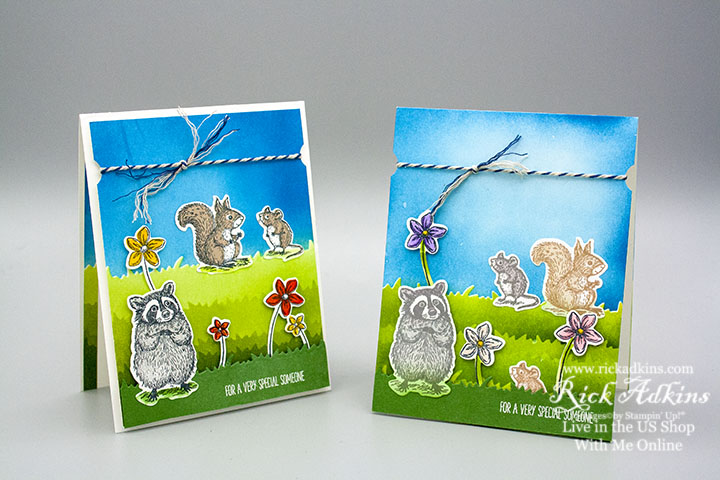
Hello and welcome to my Blog; today I’m going to share with you my Facebook Live Replay from Last night and the masculine card that you can make into a Valentines or a birthday card. I used the Special Someone Stamp Set and new Coordinating Special Day Dies from Stampin’ Up! I also shared a few types on how I create a ink blended background in the video last night. If you have problems ink blending my little no nonsense tips may help you. This is a great little card design that can be used for either occasion or any occasion for that matter just by changing the sentiment on the inside.
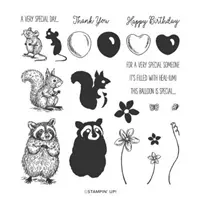
Make tags, greeting cards, and more with the adorable animals in the Special Someone Stamp Set. Use them to create fun messages for birthdays, thank you, and get well. This is a Two-Step Stampin’ set; it allows you to layer two or more images to create one final image with extra texture and dimension in the colors you want.
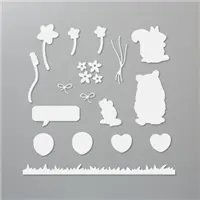
Create custom die-cut balloons, flowers, hearts, and animals with the Special Day Dies. Pair the dies with the Special Someone Stamp Set to quickly and easily cut out stamped images from the set. Use the dies to make beautiful handmade cards and other paper crafts These Dies are part of the new Coordination Product Release and are only available while supplies last or until March 31st
Video Tutorial:
If you are viewing this post by email you will have to click here or on the image to view the video.
Thanks for dropping by I hope that you will give this a try and that the tips in the video will help you with ink blending. You can find a full list of supplies used below.
Hello and welcome to my blog; today I am going to share with you a fun little Christmas card using the Christmas Crowd Stamp Set along with a little ink blending, and Stampin' Blend Coloring. Today's card is also part of my 25 Days of Christmas Holiday Card Series. This is day 11 of the Holiday Card Series and I have a super cute one for you today. Here's a look at my card.
Christmas is better shared. So spread some holiday cheer with the help of the friendly group of festive characters in the Christmas Crowd Stamp Set. Your loved ones will appreciate Christmas greetings from you and your gang. The Christmas Crowd stamp set is a great set for to color any way that you would like. I decided to stamp them and do a little masking and Stampin' Blend coloring to create my card today.
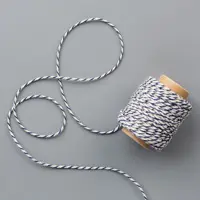
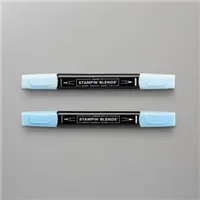
I stamped the Christmas Crowd image in tuxedo black ink twice using the Stamparatus and then created a mask on some Avery Repositionable labels. I cut the mask out and then placed it over the image. I crated a second mask to create a snow globe or world shape to place the snowflakes in. for the snowflakes in the circle I used versamark ink and the snowflake image from the Christmas Crowd stamp set and then added clear embossing powder. Once heat set I did a little ink blending with Seaside Spray, Pacific Point and Blueberry Bushel. I then came back and did a little ink blending out side of the circle once I removed the large mask.
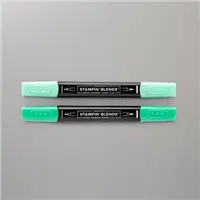
Once all the ink blending was complete I started the Stampin' Blend coloring. All my little guys were colored with Real Red, and Shaded Spruce somewhere on them to tie them in together for the most part. I did add in a few additional colors to finish them off. You will find a full list of the supplies I used on this card in the Shopping List below. I just did simple coloring to fill in the images with just a little blending. I kept everything super simple. Once I had everything colored it was time to add the finishing touches.
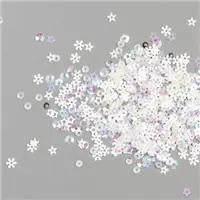
I added the ink blended and colored background to a Thick Whisper White Card base cut at 4 1/4 x 11 scored at 5 1/2. I did this with the aid of my Simply Score. I put the card base in the corner and attached it with a little liquid glue. I then stamped the sentiment in Blueberry Bushel ink on a scrap of Whisper White Thick cardstock and made it a fishtail banner. I then popped the banner up on a few Stampin' dimensionals to attach it to the card. I then added a few of the Snowflake sequins to the card with a little liquid glue.
Video Tutorial:
If you are viewing this post by email you may have to click here or the image below to view the video.
Thanks for dropping by today I hope that you have enjoyed my little card today. I also hoped that I have inspired you a little to try ink blending and coloring with your Stampin' Blends or whatever alcohol markers you may have. Again you will find a full list of the supplies used below.
Happy Stampin'
Rick Adkins
If you live in the US. I would love you to
choose me as your demonstrator. If you would like to purchase any of
these products you can click on the Shop Now Button or by clicking on any of
the images below. Alternatively, you can also contact me by email to
place your order. Please be sure to use the monthly host code and I’ll send
a little something out to you the following month to say Thank You!
November HOST CODE: QU2TJBJN
Spend any amount with me this month and receive the
Creative Stampers Tutorial Bundle. Plus get a gift from me in December.
Please
remember that if you use the host code you cannot use that order towards my
KCRP’s (Kinmon Crafty Reward Points) that would be double dipping and is not
allowed. For more information on KCRP’s click here.
Three
main reasons to Join!
1. You Get at least a 20% discount on all your orders
while you are a demo.
2. You get to join my fun Kinsmon Crafters Team and
Private Facebook Group.