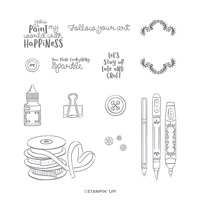
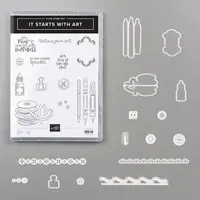
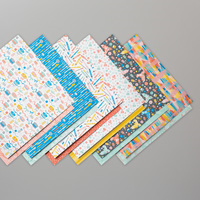
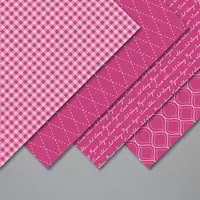
Hello and welcome to my blog; today I have a fun fold card to share with you using the It Starts With Art Stamp Set and matching dies and paper. Yes, you read that correct I am sharing a fun fold card with you today; so you know it has to be easy or I wouldn't be sharing it! I was sad to see the Follow Your Art Suite on the Last Chance List. If you have not seen the last chance list of items still available I have added a link in this post. I need to mention that some items such as the Art & Craft Dies which I used today are heavily discounted. Now with that out of the way here's a look at my card. Or I should say cards I made two.

Tips & Tricks:
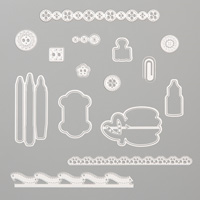
So as I mentioned you know this can not be a very hard card to do or have to many steps because you wouldn't be seeing it here otherwise. It really is very simple to create, and the Follow Your Art Designer Series Paper and It Starts with Art Stamp Set makes this a very pretty card. All you need to create this fun fold is a set of layering dies, you can use any shape you want, some cardstock, stamp set, ink, and matching designer series paper. Here's a look at the card folded out.

I told you it was cute. I went with the Layering Square Dies for one card and the Layering Circles for the other. I wanted to show you a couple options, and how changing the layering dies can change the look of the card. Let's have a look at the card with the square opening first.

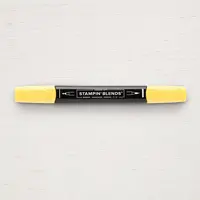
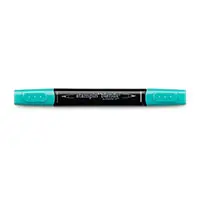
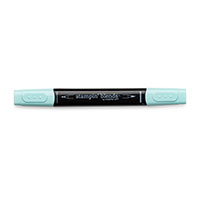
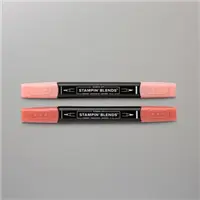
I really can not decided if I like the square window or the circle window the best. Which do you like? I used the same products on both cards I just changed the colors, used different stamped images in the windows, and changed up the shape of the openings. I just did a little simple stampin' blends coloring to color the images in the window. You will need a card base that's 5 1/2 x 8 1/2 scored at 4 1/4 for the card base. Attach your designer series paper to the card base. Die cut your window. Then the fold out is a piece of whisper white cardstock cut at 5 1/4 x 8 scored at 4" & 6".

I folded the two score lines into a mountain and valley fold. I then attached the Whisper White piece to the inside of the card, lined up my window element on the fold and attached it. I added a frame to the opening by taking the largest scalloped circle die and the third largest and cutting them out. This was attached with liquid glue to the front. I added a stamped sentiment to the outside that I used the Tailored Tag Punch to flag the ends with and popped it up on dimensionals. The sentiment on the inside I just stamped with the coordinating ink colors.
Video Tutorial:
If you are viewing this post by email you may have to click here or on the image below to see the video. Not all mail servers will show the embedded video.

To finish off my card I added some of the Glitter Enamel Dots to the card front. Thanks for dropping by today; you will find a full list of the supplies minus the glitter dots because I forgot to add them to the list below.

Happy Stampin'
Rick Adkins

Use the Host Code on any order of $50 (before taxes & shipping) or more during the month and receive a gift from me in May as a Thank You. If your order is $150 or more, please do not use the host code. You will forfeit your Stampin' Rewards if you do; and I want you to get those rewards.
If you place any size order with me during the month of May, you will receive the May Creative Stampers Tutorial Bundle from me as a little thank you. This month's tutorial bundle features Birthday Bonanza Suite of Products from the January-June Mini Catalog. The Creative Stampers Tutorial Bundle can either be earned for FREE with any size order or Can be purchased for $20 from me.

Order $50 (before shipping and taxes) of products from the Ornate Garden Suite of Products in my Online Store in April using the Host Code: RZRUGD7Y and I will send you’re the Ornate Garden Mega Tutorial Bundle for FREE as a thank you gift. That is 90 tutorials featuring products from the Ornate Garden Suite (a $21 value) free for purchasing products from the Ornate Garden Suite from me this month free.
Do not want to order but still would like to get the Ornate Garden Mega Tutorial Bundle featuring 90 projects with both metric and Imperial measurements for each project! You can purchase it from me for $21.00 US anywhere in the world in my online store by clicking here.