
Hello and welcome to my blog; today I am going to share with you my tips and tricks for creating not only a one layer card but also how to color it with a set of budget friendly colored pencils. In today's post I have a video tutorial for you walking you step by step through the process as well.

One Layer Is All You Need:
When it comes to creating beautiful cards you don't have to have all the bells and whistles all the time. Sometimes it's just as nice to have a nice clean visually appealing card with lots of white space and one main nicely colored focal image.


And there are a lot of great budget friendly colored pencils options out there. One that has been out for a very long time are your plain old Crayola colored pencils. They give beautiful results with just a few simple tricks and techniques.
Coloring Tips:
Here are a few of my top coloring tips for using budget friendly colored pencils.
- Pick the right cardstock! Cardstock does matter. Some cardstock or paper will not hold enough pigment from the pencils and others will let you tear right through the cardstock. So pick a good one like Hammermill Smooth 100 lb. or Neenah Classic Crest Solar White Cardstock.
- Pic the right Ink! Not all inks will work with colored pencils. Some may smear and some will not. And there's nothing worse than being almost done with your beautifully colored image and then you notice you have a big old smear of black ink everywhere. I like to use a hybrid ink like Intensified Black Ink from Hero Arts or Memento Tuxedo Black Ink.
- Light Pressure! When you start coloring you want to get the pressure on your pencil light. This will allow you to lay down a small amount of color without filling in the tooth of the paper. (See the video for what I am talking about)
- Build it and they will come! Build up your layers to intensify the color. Getting the right tones and values take time and you get that by building up each layer of color softly.

Stamping & Coloring a One Layer Card Video Tutorial:
If you have problems viewing the video here on my blog you can always watch the replay here on my YouTube Channel by Clicking Here!
Pin Me:
I have created a image that you can pin to your favorite Pinterest board below. Feel free to pin this image to remind you to come back and check out the details in this blog post if you need a little extra help. You can also check out my other pins here!

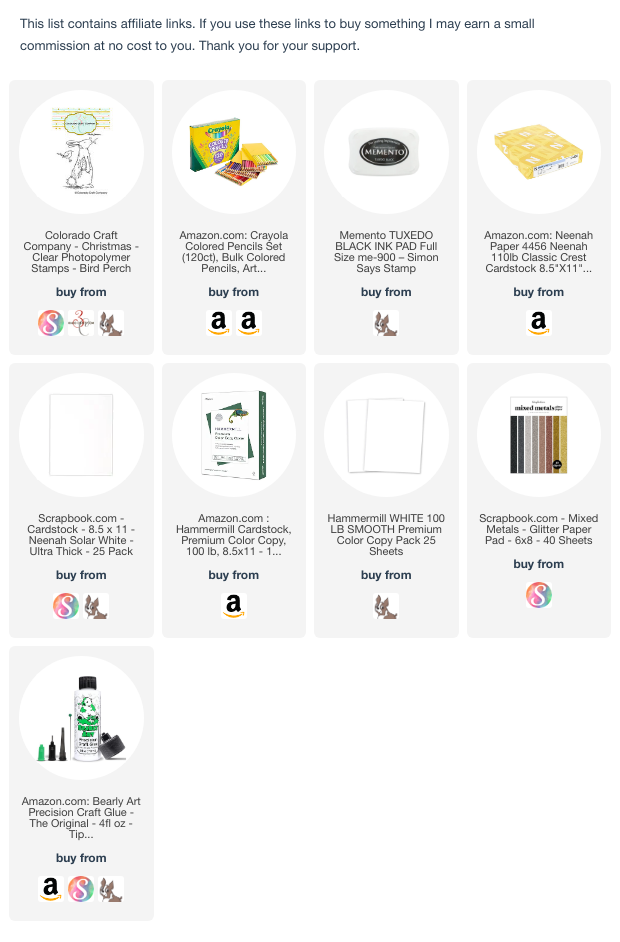
Thanks for dropping by today I have listed all the supplies that I used on this card below.
Happy Stamping,
Rick
Supply List:


0 Comments:
Post a Comment
Thanks for taking the time to leave a comment.
Much Love,
Rick