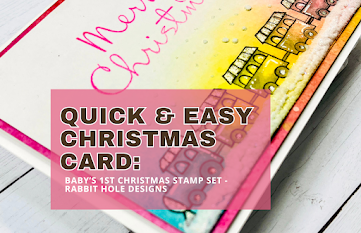
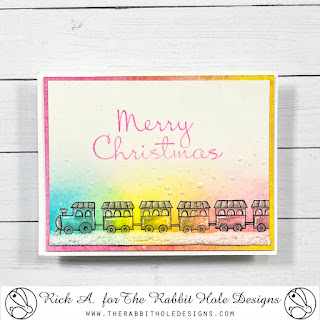
Hello and welcome to my blog; today I am sharing a quick & easy Christmas card idea with you using the Baby's 1st Christmas Stamp Set from the Rabbit Hole Designs. This is a fun technique that will allow you to add color to your images super fast.
And the best part about this technique is that you don't have to be an expert at ink blending. This fun little technique allows you to slap down your colors and then blend them out with our special ingredient that I will talk about in just a little bit.
Gather your Supplies:
The first thing you are going to want to do is pick out three primary ink colors. You want a blue, yellow, and a red. You are going to need some Bristol Smooth Cardstock or watercolor paper for this technique. You will also need your standard A2 size card base, and a piece of cardstock for a mat layer.
To go along with that your need your cutest stamp from the Rabbit Hole Designs or whatever Christmas/Holiday stamp you have in your stash. Then you will need your embellishment of choice. And your blending brushes, a water bottle, and a flat paint brush.
Time for the Magic:
Now that you have gathered all your supplies it's time to make the magic happen. To start off you want to ink blend the three primary colors onto your cardstock in the area that you are going to do your stamping. It needs to be almost as large as your stamp. Once you have slapped down the color onto your Bristol Smooth Cardstock then you are going to spray the ink with some water. You don't want it to be soaking wet, just enough water to make the ink move a little. Take the paint brush and move the colors around a little and help them mix. Once you get the desired look you are going for then you are going to dry them cardstock.
Once you have the cardstock completely dried it's time to stamp your image. I stamped the train from the Baby's 1st Christmas Stamp Set from the Rabbit Hole Designs and added a few more box cars to the end. You want to stamp in an ink that is friendly with your chosen coloring media. I picked Versafine Clair Ink for mine today. Once I had all the images stamped and arranged how I wanted them. I took a gray alcohol marker and added shading to the train. No fancy coloring just enough to add a little definition.
Once that was completed I added some Puffy Snow and added to the sky and under the train. I then added a little glitter to the liquid before I heat set it to make it puff up. Once it had cooled off I added my sentiment in Sparkling Rose Ink from Pink Fresh Studio in the center of the card front. I then added the panel to a mat layer and then to my card base. I finished off the design by adding a little glitter pen to the train for a little extra sparkle.
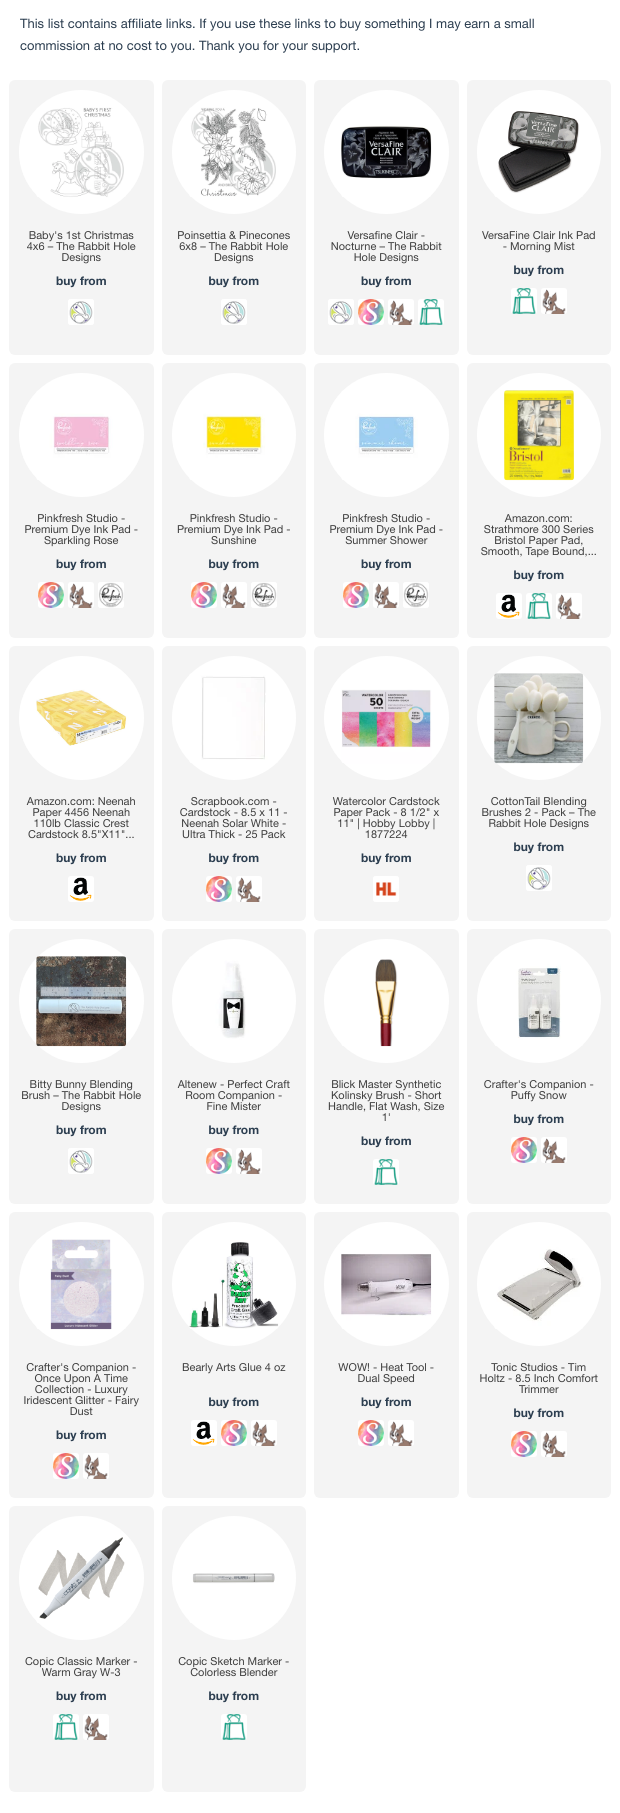
And that finishes off my card for today. I hoped that you give this technique a try and that you have a wonderful day. You can find all the supplies I used listed below in the supply list. Remember that if you click on the items listed an make a purchase I may get a small commission from the sale. This is at no cost to you.
Pin Me:
I have created an easy image for you to pin to your favorite Pinterest board so that you can easily find this technique again. Find more inspiration here!


0 Comments:
Post a Comment
Thanks for taking the time to leave a comment.
Much Love,
Rick