Have you ever wondered how they create certain cards in the Stampin' Up! Catalog or just in general How they do that? Well, I am going to share with you today how to create a sunset card background and I am going to show you how they made the Sending Sunshine card in the 2020 Stampin' Up! Annual Catalog.
I am here to answer your questions on how the Stampin' Up! Concept Artists and card makers create certain things in the Catalogs and on the internet. Like today's card for example I am going to teach you how to create a sunset card bround that you can use on your cards the easy way. I used the card from the Stampin' Up! 2020 Annual Catalog on page 111 that uses the Sending Sunshine Stamp Set as my inspiration today.

Tips & Tricks:
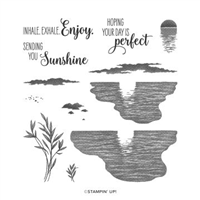
In my post today I am going to share with you how to create the perfect little sunset background that you can recreate on your own projects. I am going to give you some tips and tricks to make the process easy and so that you can recreate the perfect little sunset to share with others. This process starts with as always in card making a cute stamp set. Today, I am using the Sending Sunshine Stamp Set that can be found on page 111 of the Stampin' Up! 2020-2021 Annual Catalog.

To start off you are going to need a few supplies for this process; you will need the following supplies to recreate this card.
- Sending Sunshine Stamp Set
- Stamparatus
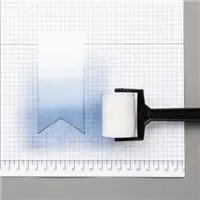
- Sponge Brayer
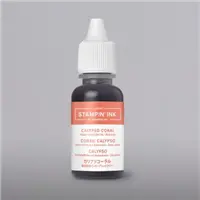
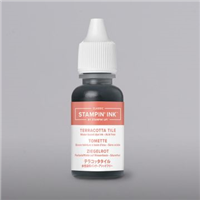
- Ink (I used Daffodil Delight, Calypso Coral, and Terracotta Tile Inks)
- Cardstock (Pretty Peacock, Whisper White, and Vellum Cardstock)
The Sponge Brayer is the key to create this soft warm sunset that you see on my card today. It applies the right amount of ink to the surface of the Whisper White cardstock. But I will tell you that you have to watch the amount of pressure you put down. If you press to hard on the Sponge Brayer you will get ink marks on your project that are impossible to blend out. So REMEMBER SUPER SOFT TOUCH as you're ink blending the background.


Next I started with the lightest of the three colors (Daffodil Delight) and started where I wanted the darkest part of that color to be. I brayered the ink in one direction and just came back adding more layers of the same color and blended it down the cardstock into and over the dried black ink. You will totally understand more as you watch the video tutorial below. I then moved on to the next color which was Calypso Coral and started that where I wanted the darkest concentration on ink to be and blended the ink downward into the Daffodil Delight. I repeated the process with the Terracotta Tile Ink, which is a darker shade of the Calypso Coral, until I had the background filled with color.
Video Tutorial:
If you are viewing this post by email you may have to click here to view the video. Not all mail servers will show the embedded video.

Thanks for dropping by today I hope that this will help you to create the perfect ink blended Sunset that you have been longing to create. If you need any of the supplies that you have seen today you can pick them up in my Online Store from the Shopping List below by clicking on the items.

Happy Stampin'
Rick Adkins

Host Code Closes on Wednesday, September 30, 2020
Use the Host Code on any order of $35 (before taxes & shipping) and get the make and takes for my Three Halloween Treat Holders Projects that I did on my Facebook Live on Wednesday as a free gift from me. Offer ends Tuesday September 8, 2020. If your order is $150 or more, please do not use the host code. You will forfeit your Stampin' Rewards if you do; and I want you to get those rewards.
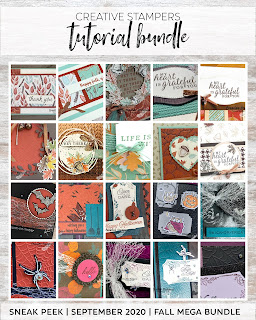
If you place any size order with me during the month of September, you will receive the September Creative Stampers Tutorial Bundle from me as a little thank you. This month's tutorial bundle is a Mega Tutorial Bundle featuring projects for both Fall & Halloween. There are 20 tutorials featured this month. The Creative Stampers Tutorial Bundle can either be earned for FREE with any size order or Can be purchased for $22 from me.

I am very close to earning the 2021 Stampin' Up! Incentive Trip to Maui and your orders can help me get there. I am running a few special promotions until the end of September to not only help me earn this trip but to help you save a little cash as well.
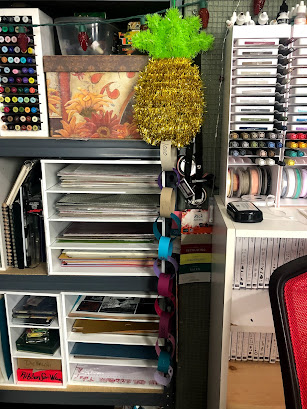
With each $1000 I earn I will be cutting off a chain from my Maui or Bust Countdown Chain.

Deadline to sign up for my Online Fall Retreat is October 3, 2020! You still have time to join in on all the holiday fun. Click here to learn more about my Online Fall Retreat. Click here to register.

It's a great time to join my team of Kinsmon Crafters and take advantage of the always great Starter Kit Deal! The Starter Kit is always at a 20% discount. Join today!

Host Code Closes on Wednesday, September 30, 2020
Use the Host Code on any order of $35 (before taxes & shipping) and get the make and takes for my Three Halloween Treat Holders Projects that I did on my Facebook Live on Wednesday as a free gift from me. Offer ends Tuesday September 8, 2020. If your order is $150 or more, please do not use the host code. You will forfeit your Stampin' Rewards if you do; and I want you to get those rewards.

If you place any size order with me during the month of September, you will receive the September Creative Stampers Tutorial Bundle from me as a little thank you. This month's tutorial bundle is a Mega Tutorial Bundle featuring projects for both Fall & Halloween. There are 20 tutorials featured this month. The Creative Stampers Tutorial Bundle can either be earned for FREE with any size order or Can be purchased for $22 from me.

I am very close to earning the 2021 Stampin' Up! Incentive Trip to Maui and your orders can help me get there. I am running a few special promotions until the end of September to not only help me earn this trip but to help you save a little cash as well.
With each $1000 I earn I will be cutting off a chain from my Maui or Bust Countdown Chain.


Deadline to sign up for my Online Fall Retreat is October 3, 2020! You still have time to join in on all the holiday fun. Click here to learn more about my Online Fall Retreat. Click here to register.

It's a great time to join my team of Kinsmon Crafters and take advantage of the always great Starter Kit Deal! The Starter Kit is always at a 20% discount. Join today!