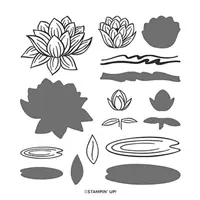
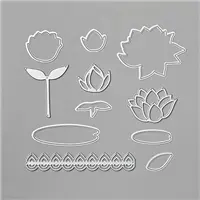
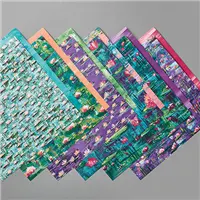
Hello and welcome to my blog; today I am going to share a fun way to make a card using Designer Series Paper as the card base. I picked the Lily Impressions Designer Series Paper that's one of the Sale-A-Bration offering this year. I also used the Lovely Lily Stamp Set and the matching Lily Pad Dies both of which are also Sale-A-Bration items and can all be earned for free with qualifying orders. During the video I also share how to get a four color blend using two sets of Stampin' Blends. Doing a four color blend is a little more advance coloring technique and it gives a more realistic coloring look. Here's a look at my card.

Tips & Tricks:
I started out my card design by cutting my designer series paper down to the correct size. It's cut to 4 1/4 x 12, and scored at 1" & 5 1/2". Once it was scored I then used my bone folder and burnished each score line. The 1" score line gets folded back to the front so that you can see both sides of the paper on the front of the card. This is one of the reasons I love Designer Series Paper cards, because you don't have to decided which side of the paper you want to see, you actually get to see them both.

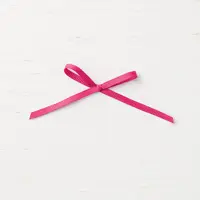
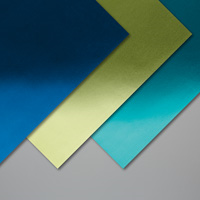
One thing depending on the designer series paper that you pick make sure that you have the paper turned in the right direction. For this one it really isn't noticeable that I had it flipped upside down. It still worked out just fine. To decorate the front of the card a little I used both a 1/2" x 4 1/4 piece of Gorgeous Grape Cardstock for the this card as you will see in the video to add a little stability and to add just a little more color. But, one the first card I used a piece of the Lovely Lipstick 1/8" Grosgrain Ribbon instead. I also used the detailed die from the set and cut out a piece of Green foil from the Noble Peacock Foil pack. I added this to the center of the card front with a little liquid glue behind.

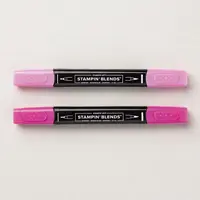
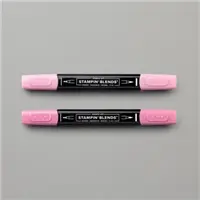
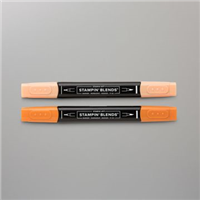
Once I had the foil die cut a large stitched whisper white circle and scalloped circle to layer behind. I stamped the lily and lily pad from the stamp set twice in Memento Tuxedo Black Ink. Once the ink dried a little bit I started the coloring process. I started out with Dark Lovely Lipstick in the deepest shadow areas of each petal. I worked one petal at a time so that I could get a good blend. Next I moved the Light Lovely Lipstick and blended the dark out; next I moved to Dark Flirty Flamingo and then to Light Flirty Flamingo. When blending flowers I do a very light handed flicking motion. I also go in the direction of the flowers petals. For the Lily pad since they are rounded I color in a circular motion. This coloring method makes a round object appear rounded. Once all the coloring was completed I used the matching die and cut everything out. I added the colored images to the stitched circles with liquid glue and stampin' dimensionals.

Once everything was added to the front of the card I stamped the inside and colored the lily on the inside and added a sentiment. For the card in the video I choose not to add anything to the inside yet because I wasn't sure what occasion I may want to use the card. I also added some of the designer series paper to the flap of the envelope. This way I have a perfectly coordinated card and envelope that's ready to go.
Video Tutorial:
If you are viewing this post by email you may not be able to see the video. If that is the case you can click here or click the image below to view. Not all mail servers will show embedded videos.

Thanks for dropping by today, I hope that you have found my little tips helpful. If you need any of the supplies I used today you can pick them up in my online store. Remember that during Sale-A-Bration you are rewarded with free goodies based on your qualifying orders.

Happy Stampin'
Rick Adkins
Use the March Host Code on any order of $50 (before taxes & shipping) or more during the month and receive a free gift from me in April as a Thank You. If your order is $150 or more please don't use the host code. You will forfeit your Stampin' Rewards if you do; and I want you to get those rewards.

If you place any size order with me during the month of March you will receive the March Creative Stampers Tutorial Bundle from me as a little thank you. This month's tutorial bundle features fourteen floral themed tutorials. The Creative Stampers Tutorial Bundle can either be earned for FREE with any size order or Can be purchased for $20 from me.