I am super excited to bring to you my NEW Online Class featuring the
Snowman Season Bundle from the 2019 Stampin’ Up! Holiday Catalog. This class is part of my Christmas Card Series
that I do each year. But this is not
only a new class; I am also excited to be able to offer you a new way to order my
class! If you notice below there are
links in the post, that’s because we have a new system in place that allows me
to add a shopping cart for everything in the class. Yes, you read that correct. Instead of me ordering everything for you in
the class, having it shipped to me, then having to repack everything along with
your class kits. You can know click on
the option you want and click add to cart and put in your information, and have
it shipped directly to your home. What
does this also allow I can add 12 x 12 paper to my classes, and you don’t have
to pay the huge amount for extra shipping.
So, this new feature opens a whole new world for my Online Classes and
new experiences for you my wonderful customers!
I still have the different options available to you. In this class you have three options to chose
from!
Here’s how it works:
You click on the link below on which ever option you want to purchase
the medium or large option. And the link
will take you to the shopping cart. Once
there you can click ADD ALL TO CART and that will put everything that I have
preselected for the class in your order.
Say you want to substitute the stamp set or bundle. You can do so by unchecking it and then hit ADD
ALL TO CART then once in the shopping cart hit continue shopping, add the
bundle or equal or greater value to the cart and then hit check out. Before paying you will add the host code
listed on the order where it says. And then hit submit and pay. All the products will be shipped to you and once
I get your confirmation email with your address, I will mail out the class kits
to you within 48 hours. I will then send
you an email with the PDF Instructions and link to the video tutorials by the
date of the class. Super easy
right!
Let It Snow Online Christmas Card Class:
When: Saturday, October
19, 2019
Deadline to RSVP & Prepay:
October 14, 2019
Cost: $58.25 to $86.75 (plus
shipping and taxes)
Time: Your convenience
Location: Comfort of your
own Home
Details:
Join me for my Let it Snow Christmas Card Class. It’s never too early to get your Christmas
Cards finished or get a jump start on them.
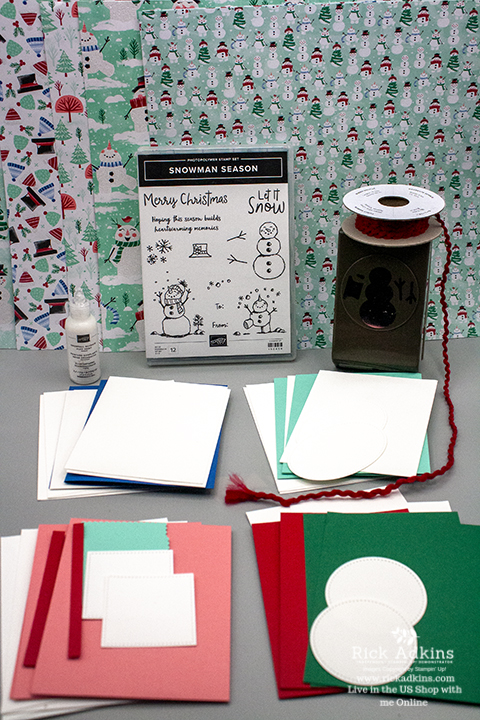
Each attendee will make 8 cards (2 each of 4 designs). Your class fee includes:
·
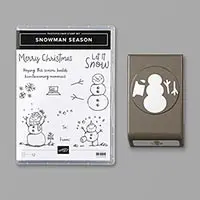
The Snowman Season Bundle
o
Snowman Season Stamp Set
o
Snow Man Builder Punch
·
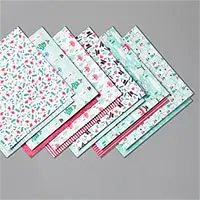
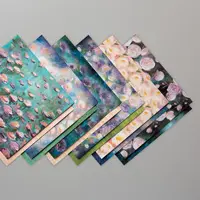
Let it Snow Specialty Designer Series Paper (12
x 12)
·
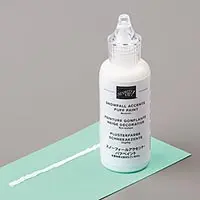
Snowfall Accents Puff Paint
·
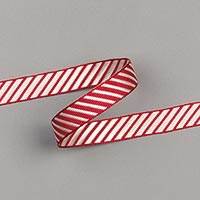
Real Red 1/8” Curly Ribbon
·
Plus, all the Make & Take Kits to do each
project.
·
Envelopes are included in each Make & Take
Packet.
·
Printable PDF Full color Tutorial will be
emailed to you along with the link to the class videos.
·
The Snowman Season Bundle
o
Snowman Season Stamp Set
o
Snow Man Builder Punch
·
Let it Snow Specialty Designer Series Paper (12
x 12)
·
Snowfall Accents Puff Paint
·
Real Red 1/8” Curly Ribbon
·
Plus, all the Make & Take Kits to do each
project.
·
Envelopes are included in each Make & Take
Packet.
·
Printable PDF Full color Tutorial will be
emailed to you along with the link to the class videos.
·
2 FREE VIP Bonus Projects
If you don’t want me to send you any products but you want the tutorial
only. You have the Bundle, the paper,
inks, everything you need to make the projects; you can click this option, and email me letting me know you want the tutorial only option. I will email you the tutorial starting the week
of October 22nd.
Option 4: Team Make and Take Packet $12.00
This option is for my Kinsmon Crafter Team Members only! As a perk from me they get to order the Make
and Take Packets at a discount for my online classes. Team members can order the make and takes by
emailing or private messaging me.
Host Code to Order With:
You can purchase all the items needed for this class with the shopping
cart link provided here along with using the Host Code SQ2WWJZN at check
out.
Additional Supplies Need:
You
will provide your favorite Adhesive, Memento Tuxedo Black, Coastal Cabana,
Flirty Flamingo, and Blueberry Bushel ink pads.
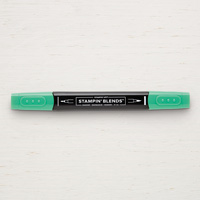
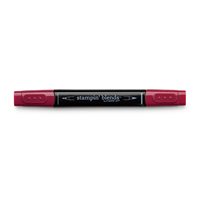
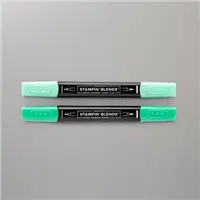
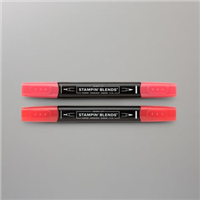
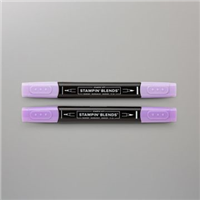
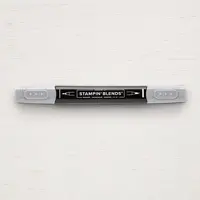
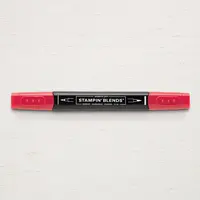
You will also need a heat tool for this class. Your Favorite Coloring Media: I used Stampin' Blends for my coloring in Pumpkin Pie, Pool Party, Basic Black, Real Red, and Shaded Spruce, but you can use whatever you like.
If you already own the Snowman Season Bundle you can substitute it for
something of equal or greater value.
Once you have placed your order using the host code above please Email
Rick at
rick@rckinsmonstudio.net
to verify your register.


 .
.