Showing posts with label snowflakes. Show all posts

Monday, November 8, 2021

Stack Cut & Shuffle Card Technique - Whimsical Trees Video Tutorial

Hello and welcome to my blog; today I am going to share with you some cards that cards that I made on Sunday afternoon in about an hour.  I made twelve cards using the products in the Whimsy & Wonder Suite Collection.  I used a fun technique to create a stack of cards in a short amount of time.   

Check out the 12 cards that I made using the Stack Cut & Shuffle technique and the Whimsical Trees Stamp Set.

I used the Stack, Cut & Shuffle Card Technique to create each set of cards.  I will explain how to create the cards and the technique below.  

Wednesday, December 4, 2019

Frosted Foliage Bundle

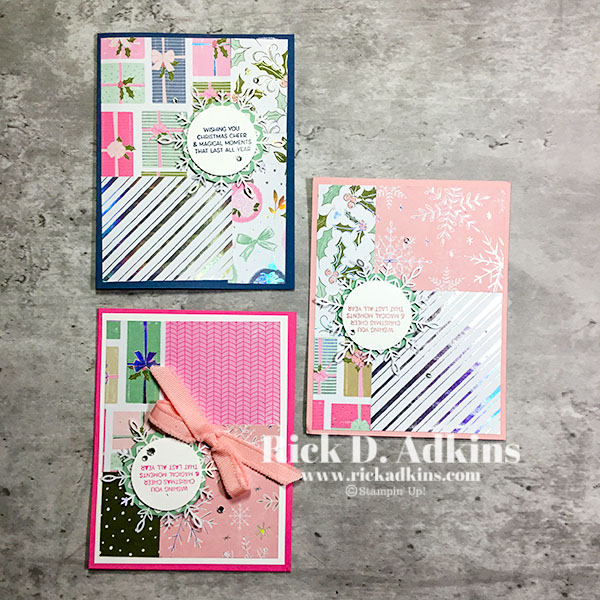
Hello and welcome to my blog; today I am going to share a little card I made using the Frosted Foliage Bundle.  I also used the Feels Like Frost Designer Series Paper; which has sold out.  But I had made this card before it had sold out.  The Year-End Closeout sale kicked off yesterday and the Frosted Foliage Bundle is listed in the sale.  So If you haven't gotten this stamp set you may want to add it to your next order before it's gone.  All the items on the Year-End Closeout as most products in the mini catalogs are while supplies last.  Here's a look at my project for today.

Tips & Tricks: 

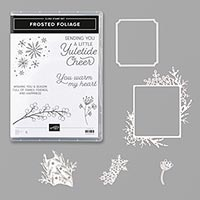
Spread a little yuletide cheer with beautiful Christmas cards and projects made using the Frosted Foliage Stamp Set. The delicate images and warm sentiments will light up the season for those you love.  The Frosted Foliage Bundle includes the Frosted Foliage Cling Stamp Set and the Frosted Frames Dies.  Frosted Frames Dies are used to create custom winter and Christmas die-cut frames in record time, just like I did with my card today.  I started off with a piece of Seaside Spray Cardstock cut at 4 1/4 x 11 scored at 5 1/2.  After I folded and burnished the card base I cut down a piece of the Feels Like Frost Designer Series Paper to 5 1/4 x 4 and layered it onto a piece of whisper white cardstock cut at 5 3/8 x 4 1/8.  Before layering I die cut one of the frames from the die set from the middle of the whisper white, along with some snowflakes.  
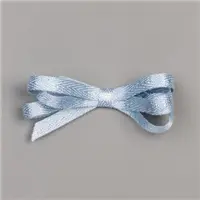
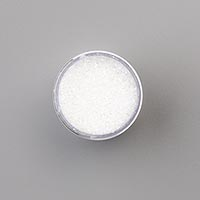
After doing all my die cuts and saving a little paper I added the designer series paper using a little liquid glue.  I then used my fine tip glue pen and applied it all over the snowflakes.  While the glue was still wet I added some of the Ice Stampin' Glitter to each.  I then set them aside to dry.  While drying I added two strips of tear & tape to the bottom third of the card and placed a couple strips of the Seaside Spray 1/4" Metallic Ribbon.  
I then added the sentiment on Stampin' Dimensionals over the ribbon.  At this point the snowflakes where dry so I could add them to the card.  I added them each with a little liquid glue.  To finish off the card I added a few rhinestones to add just a little bling.  I added five snowflakes total; you all know if you follow me I believe in the rule of odds.  Which says odd numbers always look better.  
Thanks for dropping by today, I hope that you have a wonderful day.  Remember that the designer series paper is out of stock, and the Frosted Foliage bundle is on the Year-End Closeout so get it while you can.  
Happy Stampin' 
Rick Adkins 

If you live in the US.  I would love you to choose me as your demonstrator.  If you would like to purchase any of these products you can click on the Shop Now Button or by clicking on any of the images below.  Alternatively, you can also contact me by email to place your order.  Please be sure to use the monthly host code and I’ll send a little something out to you the following month to say Thank You!  

December HOST CODE:  CEUXJX6R
  1. Spend any amount with me this month and receive the Creative Stampers Tutorial Bundle.  Plus get a gift from me in January.
Please remember that if you use the host code you cannot use that order towards my KCRP’s (Kinmon Crafty Reward Points) that would be double dipping and is not allowed.  For more information on KCRP’s click here.  


Three main reasons to Join!  
1.     You Get at least a 20% discount on all your orders while you are a demo.   
2.     You get to join my fun Kinsmon Crafters Team and Private Facebook Group.
3.     Access to directions to all my online classes 

Year-End Closeout Sale: 


Stampin' Up! Shopping List: 


Tuesday, November 12, 2019

How to Make a Star Easel Card - Video Tutorial

Hello and welcome to my blog; today I have a super fun fold card for you.  As you know if you have followed me or been here be for you know that I love cards that look complicated but are super easy todo.  And, today's cards no exception.  My project today is a Star Easel card.  I made this card after seeing it in a UK card magazine and just had to figure it out.  Here's a look at my project.

Tips & Tricks: 

You can create this card with a half sheet of cardstock for the base.  Along with that you need just a little whisper white and a couple sheets of six by six pattern paper.  For my card I used Seaside Spray as my card base and the Feels Like Frost Designer Series Paper. 

You can fit this card in a standard A2 size envelope.  So it's easily mailed, without any extra postage.  Which is always good.  Once I had the designer series paper attached to the card and put together I added some snowflakes and rhinestones to decorate the card.  I also stamped some snowflakes on the sentiment piece, but stamped off first.  I then added the sentiment full strength. 

When you go to put the points in place as you will see in the video you may have to use your snips to cut the cardstock all the way through. 

Video Tutorial: 

If you are viewing this post by email you may have to click here or the image below to view the video. 


Here's another version of the star easel card that I made.  With this version I used the Toile Tidings Designer Series Paper.  
Thanks for dropping by I hope that you enjoyed this card, and I hope that you give it a try.  
Happy Stampin' 
Rick Adkins 


If you live in the US.  I would love you to choose me as your demonstrator.  If you would like to purchase any of these products you can click on the Shop Now Button or by clicking on any of the images below.  Alternatively, you can also contact me by email to place your order.  Please be sure to use the monthly host code and I’ll send a little something out to you the following month to say Thank You!  

November HOST CODE:  QU2TJBJN
1.     Spend any amount with me this month and receive the Creative Stampers Tutorial Bundle.  Plus get a gift from me in December.
Please remember that if you use the host code you cannot use that order towards my KCRP’s (Kinmon Crafty Reward Points) that would be double dipping and is not allowed.  For more information on KCRP’s click here.  


Three main reasons to Join!  
1.     You Get at least a 20% discount on all your orders while you are a demo.   
2.     You get to join my fun Kinsmon Crafters Team and Private Facebook Group.
3.     Access to directions to all my online classes 

Stampin' Up! Shopping List: 

Template Designed by creativeworkerbee