Showing posts with label basic pattern decorative masks. Show all posts

Friday, December 6, 2019

Blogging Friends December Blog Hop: New Year New You


Hello and welcome to this month's Blogging Friends Blog Hop.  This month our theme was New Year New You, which can be interpreted in many different ways.  Everything changes and evolves, just as our blog hop evolves so do we each year.  You may notice a new blog header as well this month.  In keeping with this month's theme I decided that it was time to update the hops look as well.  For my card this month I used the Sip Sip Hooray Stamp Set which is perfect for New Year's cards as well as congratulations, and so much more.  Here's a look at my project.

Tips & Tricks: 

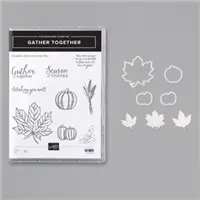
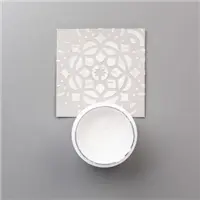
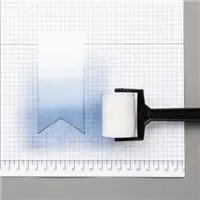
For my card the first thing that I did was take a 4 1/4 x 5 1/2 piece of thick Whisper White and stamped out the images from the stamp set.  After stamping in Tuxedo Black ink I stamped the same images on masking paper and cut them out.  I placed the masks over each image and a couple strips of post-it tape where the table would go.  At this point I colored the background with my Pretty Peacock Stampin' Blend Combo Pack in a ombre affect.  Once I had the background colored I used my Basic Pattern Decorative Masks and the Shimmery White Embossing Paste to create a wall paper effect.  
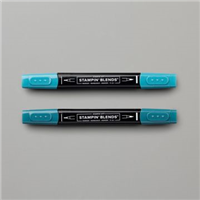
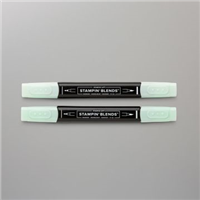
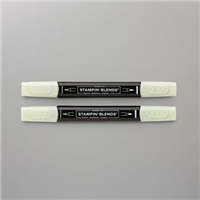
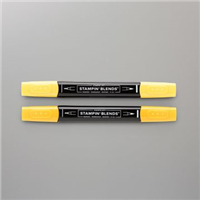
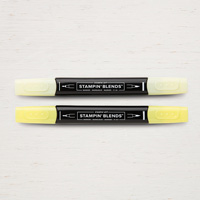
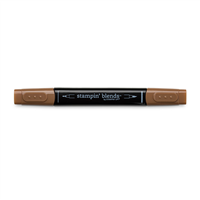
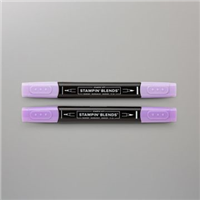
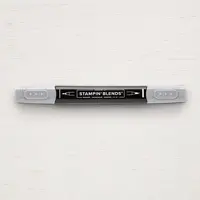
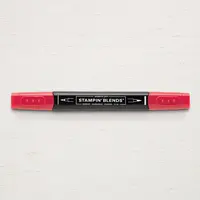
Before the paste dried I pulled off all my masks and then set my card front aside to dry completely before coloring in the table and other images.  Once the Shimmery White Embossing Paste was dry I started coloring in the glasses with Mint Macaron, Mango Melody, Real Red, Pretty Peacock, Pineapple Punch, and Soft Seafoam Combo Packs.  Some of the coloring was done with a four color blend while others where just done with a two color blend.  The table was colored with Bronze, Soft Suede, Crumb Cake and Gray Granite.  I layered each color over the other in different movements of the blends.  I tried to give the impression of woodgrain.  
Once I had everything colored I stamped the sentiment onto some peaces of Pretty Peacock cardstock in Versamark ink and added White Stampin' Emboss Powder.  Then I used the Heat Tool to set the powder until smooth and melted.   I added the sentiment to the front of the card on Stampin' Dimensionals.  I then added the entire card front to a Thick Whisper White card base.  
If you are viewing my blog on my wordpress site you will have to click here to see the blog roll.  

Blog Roll: 


/div>
Happy Stampin' 
Rick Adkins 


If you live in the US.  I would love you to choose me as your demonstrator.  If you would like to purchase any of these products you can click on the Shop Now Button or by clicking on any of the images below.  Alternatively, you can also contact me by email to place your order.  Please be sure to use the monthly host code and I’ll send a little something out to you the following month to say Thank You!  

December HOST CODE:  CEUXJX6R
  1. Spend any amount with me this month and receive the Creative Stampers Tutorial Bundle.  Plus get a gift from me in January.
Please remember that if you use the host code you cannot use that order towards my KCRP’s (Kinmon Crafty Reward Points) that would be double dipping and is not allowed.  For more information on KCRP’s click here.  


Three main reasons to Join!  
1.     You Get at least a 20% discount on all your orders while you are a demo.   
2.     You get to join my fun Kinsmon Crafters Team and Private Facebook Group.
3.     Access to directions to all my online classes 

Stampin' Up! Shopping List: 


Monday, September 30, 2019

6 Cards Using the Basic Pattern Decorative Masks


Hello and welcome to my blog; today I am going to share with you six cards that I used the new Basic Pattern Decorative Masks from the Holiday Catalog on.  These are not for what you hear the term masks used for all the time.  These are our stencils.  I know you may have been like me when I heard the term I thought "Why in the world do I need something that they use to decorate walls and craft projects with!"  But, I have found masks/stencils are a wonderful tool that allows you to create beautiful cards.  I am going to share six cards with you today, where I used stencils and the same card sketch.  You will notice that by changing up the stamps, colors, papers, and embellishments you can create totally different looks.  Here's a look at all the cards.

Ink Blending:  

One of the techniques you can do with masks/stencils is ink blending through them. It's probably one of the easiest and one of the quickest ways to these little plastic bits of goodness.    And depending on how you use them you can create completely different looks.  You can ink blend through them with many different ways.  You can use a sponge brayer, sponge daubers, sponges, make up brushes, etc.  Here's a look at all the cards where I used ink blending.  


We are going to start with the Fall themed card.  I used one of the decorative masks and ink blended two different colors through the masks.  I used Daffodil Delight and Crushed Curry inks through the masks on a piece of Whisper White.  I attached that to a 5 1/2 x 8 1/2 piece of Crumb Cake.  I added two die cut and embossed leaves and stamped some of the pumpkins and I used wink of stella to color them.  I stamped the sentiment on a piece of Cajun Craze.  
For my Halloween card I used Gorgeous Grape and Granny Apple Green inks on a piece of whisper white.  I colored the little monster form Boo to You using matching Stampin' Blends. If you noticed I let the colors fade out where they meet and transition in to each other.   
For the Christmas card I used #Elfie and colored one of the little elves and cut him out and popped him on the card.  I used old olive and garden green to stencil the back ground.  
For the snow man card I used the same stencil three different times to create the tree background to give the look of distance.  I used Balmy Blue, Coastal Cabana, and Night of Navy.  I just shifted the stencil over and up each time to get the forest look. I stamped and colored the little snow man and added some of the snow accent puff paint to add some snow.  

Pastes and More: 

On the next two cards I used designer series paper and embossing pastes through the stencils to get the looks.  When using the embossing pastes make sure that you have a pan of water close by so that you can place the stencils in quickly when done other wise it will dry in them and ruin your stencils.  Don't ask me how I know that.  
With this card I used the shimmery embossing paste through the tree stencil.  I just wanted to create something that was sparkly and icy looking.  Once dried I attached it to my card base and added the sentiment.  Once of the best things about the mask backgrounds if you can get so many different looks depending on what you use.  

For this card I used the Follow Your Art Designer Series Paper and the decorative masks.  The embossing paste was tinted with ink refill and then I used vellum and the First Frost stamp set with white embossing to create the focal image.  This helped to draw the eye to the focal images.  

I hope that you liked this quick little post about the using the Basic Pattern Decorative Masks.  If you need any of the supplies I've used today you can find them in the Shopping List below.  I will see you tomorrow with another project and a video.  
Happy Stampin' 
Rick 

If you live in the US.  I would love you to choose me as your demonstrator.  If you would like to purchase any of these products you can click on the Shop Now Button or by clicking on any of the images below.  Alternatively, you can also contact me by email to place your order.  Please be sure to use the monthly host code and I’ll send a little something out to you the following month to say Thank You! 
 Don't forget about my fundraising effort!  When you purchase the Nature's Beauty Stamp Set using the Host Code above from September 28, 2019 until October 10, 2019, I will donating 20% off all the sales from that set to NAMI.  Which is the National Alliance for Mental Illness.  As my gift to you; you will get two VIP Card Kits to go along with the Stamp Set FREE.  My goal is $1500!  Help me help others in need.  Click here to purchase this set.  

Stampin' Up! Shopping List: 

Price: $10.00

Template Designed by creativeworkerbee