Hello and welcome to my blog; today I am going to share with you another CASE the Catalog Card. This week I am going to share with you a card that was made with products form the Parisian Blossoms Suite from the January-June Mini Catalog. I received this card as part of a CASE the catalog swap that I took part in with some friends from Arkansas. I am not sure which one made this card because there was no name on the back of the card. Whomever made it did a fabulous job CASEing the catalog. If you are not sure what I am talking about when I say CASEing it means to Copy And Share Everything or to Copy And Selectively Edit depending on who you are speaking. But, no matter what CASEing is a great way to learn new skills and techniques. Which is what I hope this series every Sunday has been helping you accomplish. You can find ideas to CASE everywhere: Right here on my blog, from the Stampin' Catalogs (which is a great source) and Pinterest. Here's a look at today's card.

Tips & Tricks:
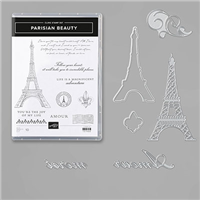
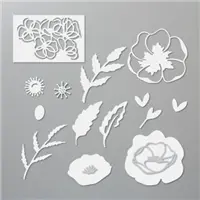
- This card was CASEd from a card that was designed by one of the Designers at Stampin' Up! and can be found on page 17 of the January-June Mini Catalog. The elegant motifs in the Parisian Beauty Stamp Set evoke images of Paris in the spring. You can use these stamps for travel projects, collages, greeting cards, and more. The Parisian Beauty Stamp Set features ten Cling stamps that will give you the the perfect impression. Today's card started out with a Petal Pink Card base cut at 5 1/2 x 8 1/2 scored at 4 1/4.
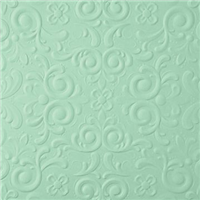
- And, then you will take and cut another piece of Petal Pink Cardstock and cut it down to 3 3/4 x 5 and use the Parisian Flourish 3D Embossing Folder to dry emboss this piece of cardstock. The Parisian Flourish 3D Embossing Folder allows you to create projects with a fun and elegant flourish pattern. Use it to add a little texture to your projects. It’s great for card backgrounds and other elements for paper projects. This piece was then attached to the card base with a strong adhesive. I would suggest using Multipurpose Liquid Glue for this; since once dry it provides the strong bond your embossed images will need and it will go into all the debossed areas as well as the embossed ones to provide a more complete coverage.

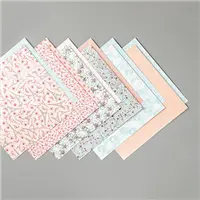
- Next you are going to add three strips of the Parisian Blossoms Speciality Designer Series Paper to the card front using liquid glue. You are going to slightly turn these pieces a little to make them not straight on the card.
- Stamp the eiffel tower image onto a piece of whisper white cardstock in Early Espresso Classic Ink and cut it out using the matching die from the Parisian Label Dies. Imagine you’re in Paris as you create your own die-cut Eiffel Tower and the words “Merci” and “Amour” for handmade cards, scrapbooks, and other fun paper crafts using the Parisian Dies. Pair the dies with the coordinating Parisian Beauty Stamp Set to quickly cut out stamped images from the set. The Parisian Label Dies features six dies some matches the outline of the images and others are there to help you build your perfect Parisian Card.
- Pop the tower up on your card front using both regular Stampin' Dimensionals and the Mini Dimensionals.

- Now for the finishing touches! You will need a scrap of Early Espresso Cardstock. And you are going to stamp the sentiment in Versamark ink and cover that with White Stampin' Emboss Powder. Heat Set it until it's smooth and melted. Make sure to treat the cardstock first with your Embossing Buddy to prevent any unnecessary embossing powder sticking to places you don't want it.
- Once set you are going to attach it the tower with dimensionals.
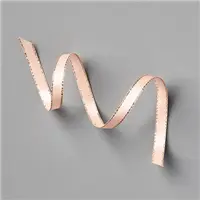
- Tie a little bow with the Petal Pink Metallic Edged Ribbon and attach under the sentiment and next to the tower with a Mini Glue Dot.


If you live in the US. I would love you to choose me as your demonstrator. If you would like to purchase any of these products you can click on the Shop Now or by clicking on any of the images below. Alternatively, you can also contact me by email to place your order. Please be sure to use the monthly host code and I’ll send a little something out to you the following month to say Thank You!