Hello and welcome to my blog; today I am going to share with you the Easter Sampler I made a few weeks back. I used the Easter Promise and Artisan Textures Stamp Set for most of the sampler. Samplers are a great way to create custom home decor pieces for your home with supplies you may already have around your house. I mean really they are just some cardstock, stamped images, embellishments and designer series paper arranged in a super pretty way. I did a little watercoloring on my Easter Sampler using my Watercolor Pencils. Here's a look at the Sampler.

Tips & Tricks:
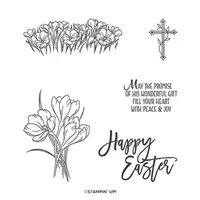
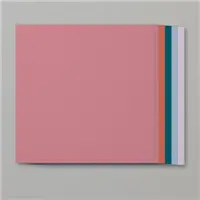
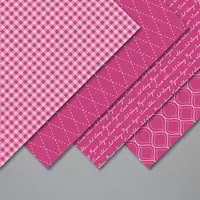
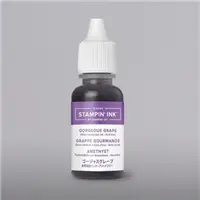
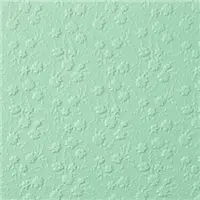
As with any sampler I create I first start by picking out what I want to focus on. I knew I wanted to do a Easter Sampler, but with all the cute Easter stamp sets in the January-June Mini Catalog I had to narrow it down. I ended up picking the Easter Promise Stamp Set. The Easter Promise Stamp Set allows you to create messages of hope with the Easter greetings and springtime flower images. Once I had the stamp set picked out it was time to decide on a color theme. I went with a few of my favorite springtime colors; Soft Seafoam, Gorgeous Grape, Melon Mambo, Daffodil Delight, and threw in a little Granny Apple Green just for fun. Next I figured out how big I wanted everything to be and how many squares I wanted to use. So I cut all the pieces for the basic set up. I did eight Gorgeous Grape squares in 3 1/4 x 3 1/4 and one at 3 1/2 x 3 1/2. I then started cutting my white pieces. 3 x 3 and 3 1/4 x 3 1/4 for the center. I stamped the images I knew I wanted to watercolor first so that they would dry.

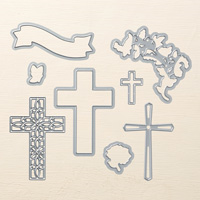
I started with my center panel and colored the crocus flowers with my watercolor pencils. I softened the color with my blender pen. I love to use the blender pen to color and watercolor images. To me they are much easier to work with than the Aqua Painters, because of the fine tip I and very little moisture that comes out. Once I had everything colored I repeated the process for the other two images. I placed the center panel onto my 12 x 12 whisper white cardstock, after matting it with the one 3 1/2 x 3 1/2 piece of Gorgeous Grape. I then started arranging everything else around it. For the cross square next to the largest square I added a little Daffodil Delight Designer series paper that was cut using one of the stitched squares from the Stitched Shapes Dies. I also cut out the cross image with a smaller one. I embossed a piece of Melon Mambo cardstock with the Ornate Floral 3D Embossing Folder before putting it all together.

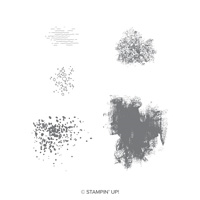
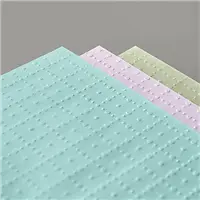
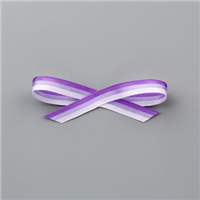
I stamped the other floral image in the top panel in Gorgeous Grape Ink and used one of the images from the Artisan Texture Stamp Set to add a little color to the image. I stamped off twice to achieve the lighter color. For the center panel at the top I used some of the Very Vellum Sale-A-Bration paper in the background over a piece of Whisper White and then used the Cross of Hope Dies to cut one cross from Gorgeous Grape Cardstock, one from Gold Foil, and one from the Vellum. I layered them all up and added some of the Purple Tricolor Ribbon behind and placed the crosses together over it.

For the bottom panels I used the floral images again, using first, second and even third generation stamping to get the look I wanted. You will notice that you will see all the colors, images, and techniques repeated in my sampler at least three times. This creates a very pleasing visual interest to the sampler and to the eye.

Happy Stampin'
Rick Adkins