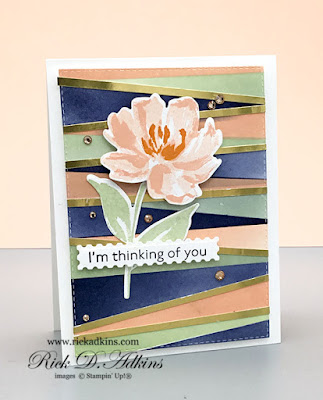
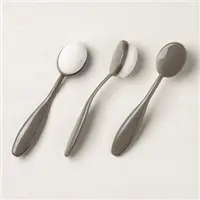
Hello and welcome to my blog; today I am going to share with you a card I made over the weekend showcasing the Fine Art Floral Stamp Set and the new Blending Brushes from Stampin' Up!. This weekend just felt like a time to create a floral card. The weather had been just nasty out and was turning colder, so as you can imagine I am craving some warm weather. Florals just make me feel warm and cozy on the inside. Here's a look at the card that I created.
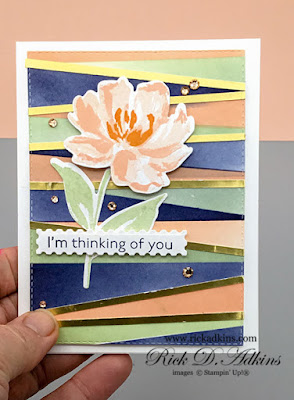
I love my Blending Brushes and have had fun using them on the side to get use to them. I have many sets of other brands of brushes that I have used, but I love the size, feel and the way these brushes blend. They make me happy. I used a little post-it tape to create the strips on my card. I started out my taping off each strip and used my Blending Brushes to ink blend the each color in a different strip.
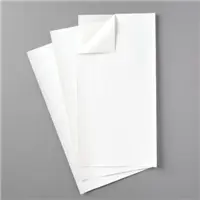
Once I finished all the ink blending I took my background and ran it through my Stampin' Cut & Emboss Machine with the largest die from the Rectangle Stitched Dies. I then took a scrap of Gold Foil and added some Adhesive Sheet to the back. I then cut 1/8" strips from this piece of Gold Foil and placed it every so often on the strips. I cut each one to size. I then placed the background on my Thick Basic White card base with Foam Adhesive Sheets.
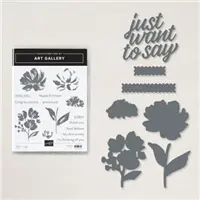
I then stamped the floral image from the Art Gallery Stamp Set and die cut it out using the matching dies. I placed the stem on the card with Multipurpose Liquid Glue and added the floral image with a small piece of Foam Adhesive Sheet. The sentiment was stamped in Night of Navy Ink on Basic White Cardstock. I placed the die cut sentiment on to the card with Mini Stampin' Dimensionals.
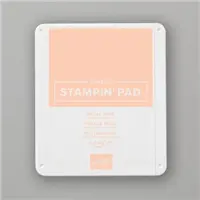
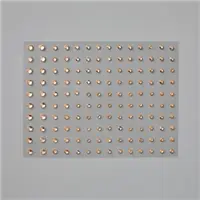
My card today is part of this week's color challenge at the Spot. You can click here to see what the other design team members came up with with this color combination. To finish off my card I added Champagne Rhinestones to add just a little more bling. Thanks for dropping by today I hope that you have a wonderful day.
Happy Stampin'
Rick Adkins











Rick, this card is fantastic! Your background is a real statement especially with the angles and bit of gold! Love it.
ReplyDeleteThanks Donna
DeleteI am wowed by this card. And will have to try my hand at it. I thought it was all little angled strips adhered to the base. But your explanation makes it seem simpler to recreate.
ReplyDelete