Hello and welcome to my blog; today I am sharing with you my project for this weeks creative challenge over at The Spot. This weeks challenge is one that I am not very comfortable with but I took the challenge in straid and completed it. The creative challenge at The Spot this week is a Scrapbook Challenge. The challenge was to create either a one page, two page Scrapbook spread or a Mini Album. I decided to create a one page scrapbook page. I used the new Love of Leaves Bundle and a few other products from the new August-December Mini Catalog. Here's a look at my page.
Here's the challenge image that inspired my scrapbook page today. You can also click on the image below to check out what the other design team members came up with and to play along.
Tips & Tricks:
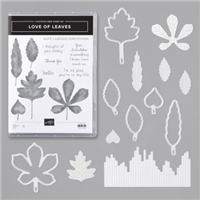
As I mentioned above I created a Fall Themed page for today's challenge. I used the new Love of Leaves Bundle that is in the August-December Mini Catalog.

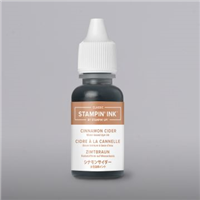
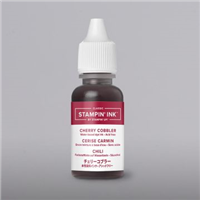
The Love of Leaves Bundle consists of the Love of Leaves Stamp Set and the Stitched Leaves Dies. The Stitched Leaves Dies not only cut out the stamped leaf images but you also have an additional die for each image that also adds stitching to the inside of the leaves. The outline dies not only cut out the stamped images but will leave a stitched edge around the outline. This will allow you to create stitched leaf shaped stitched windows. Each of the leaves in the stamp set represent a leaf from one of Stampin' Up!'s Markets. I started out my scrapbook page by stamping the leaves from the Love of Leaves Stamp Set in Cinnamon Cider, Bumblebee, and Cherry Cobbler Inks on Very Vanilla Cardstock. I used the matching dies and cut each one out using the new Stampin' Cut & Emboss Machine. On some of the leaves I used the stitched inside dies to add the stitching to the inside.

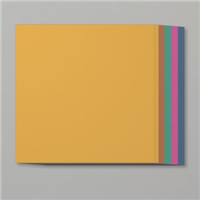
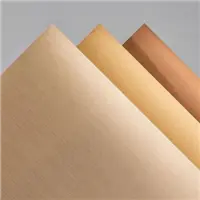
After cutting out the stamped images I cut some more leaves with just the dies using the Brush Metallic Cardstock. I also added the inside stitching to the inside of these leaves as well. Once I had all the leaves stamped and cut out I started working on my 12 x 12 Cinnamon Cider Cardstock which is the base of my scrapbook page. I took some Whisper White Craft Ink Refill and my Water Painters and watered the craft ink down. I added this to the base of the scrapbook page. I added this watered down ink to one side of the scrapbook page. I then used my heat tool to dry the layer. You can add a little of the watered down colors but you have to be careful with how much water you apply to regular cardstock. I also added a little Mint Macaron Refill that I watered down to this also and repeated the process.
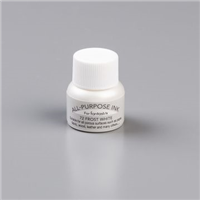
I also took some of each of the colors listed and splattered them on the base cardstock. For the splatter I used the following Ink Refills; Whisper White Craft Ink, Cinnamon Cider, Delicata Golden Glitz (Retired), Delicata Celestial Copper (Retired). Besides these ink refill splatters I used some of the Frosted White Shimmer Paint and watered it down and splattered it on also. Once all the splatters were dried I stamped some of the leaves from the set in Cinnamon Cider Ink around the page.
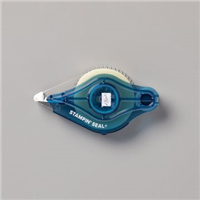
After this was complete I cut a piece of Mint Macaron DSP from the Gilded Autumn Specialty Designer Series Paper with the largest Rectangle Stitched Dies. I then cut a piece of Very Vanilla Cardstock with the third largest die from the same set. I added the designer series paper to the page with Stampin' Seal+. The Very Vanilla piece to the center of the DSP with Stampin' Dimensionals. I then started arranging all the stamped and die cut leaves around the placeholder and mat for my photo that will be taken later.
Next I used the Playful Alphabet Dies to cut out the title of my page from the Gold Brushed Metallic Cardstock. I added the letters to the page with a little Multipurpose Liquid Glue behind each letter. I also added a couple of the Metallic and stamped leaves around the title. To the two large leaves at the top I added a double bow tied with Linen Thread. I left long streamers on the double bow to draw the eyes down the page and to the title.
Project Recipe:
I have created a little graphic here that you can pin to your Pinterest Board to help you remember what I used to create this page if you wanted to recreate it. If you want to check out all my other Project Recipes you can do so on my Recipe Board by
clicking here.
Thanks for dropping by today I hope that you will take a little time and play along with us this week. If you need any of the supplies that I used to make this scrapbook page you can click on the items in the Stampin' Up! shopping List below.

Happy Stampin'
Rick Adkins
Use the Host Code on any order of $35 (before taxes & shipping) or more by August 14th and receive my August Monthly Card Class Kit & Invitation to my Zoom Live Class featuring the Ridiculously Awesome Stamp Set as a Thank You. ($25 value) In the Kit you will receive the supplies to make four different card designs. If your order is $150 or more, please do not use the host code. You will forfeit your Stampin' Rewards if you do; and I want you to get those rewards. Monthly Card Class Kits will be mailed to you by August 22nd.
If you place any size order with me during the month of August, you will receive the August Creative Stampers Tutorial Bundle from me as a little thank you. This month's tutorial bundle has ten project tutorials that feature our favorite new Cozy Critters products from one of the new Stampin’ Up! Catalogs. The Creative Stampers Tutorial Bundle can either be earned for FREE with any size order or Can be purchased for $22 from me.
Stampin' Up! Shopping List:


0 Comments:
Post a Comment
Thanks for taking the time to leave a comment.
Much Love,
Rick